This article may contain affiliate links.
In this article, I’m going to talk about some video background hacks you can use to instantly improve how your videos look—without having to build a custom set with crazy lights or design elements, rent a studio, or use a green screen.
These hacks are perfect if you’re filming in your own apartment or bedroom, or if you want to turn even a plain wall into something that looks professional and aesthetic. If you have just no space, but still want your videos to look professional—this is for you.
Watch the video of the same topic!
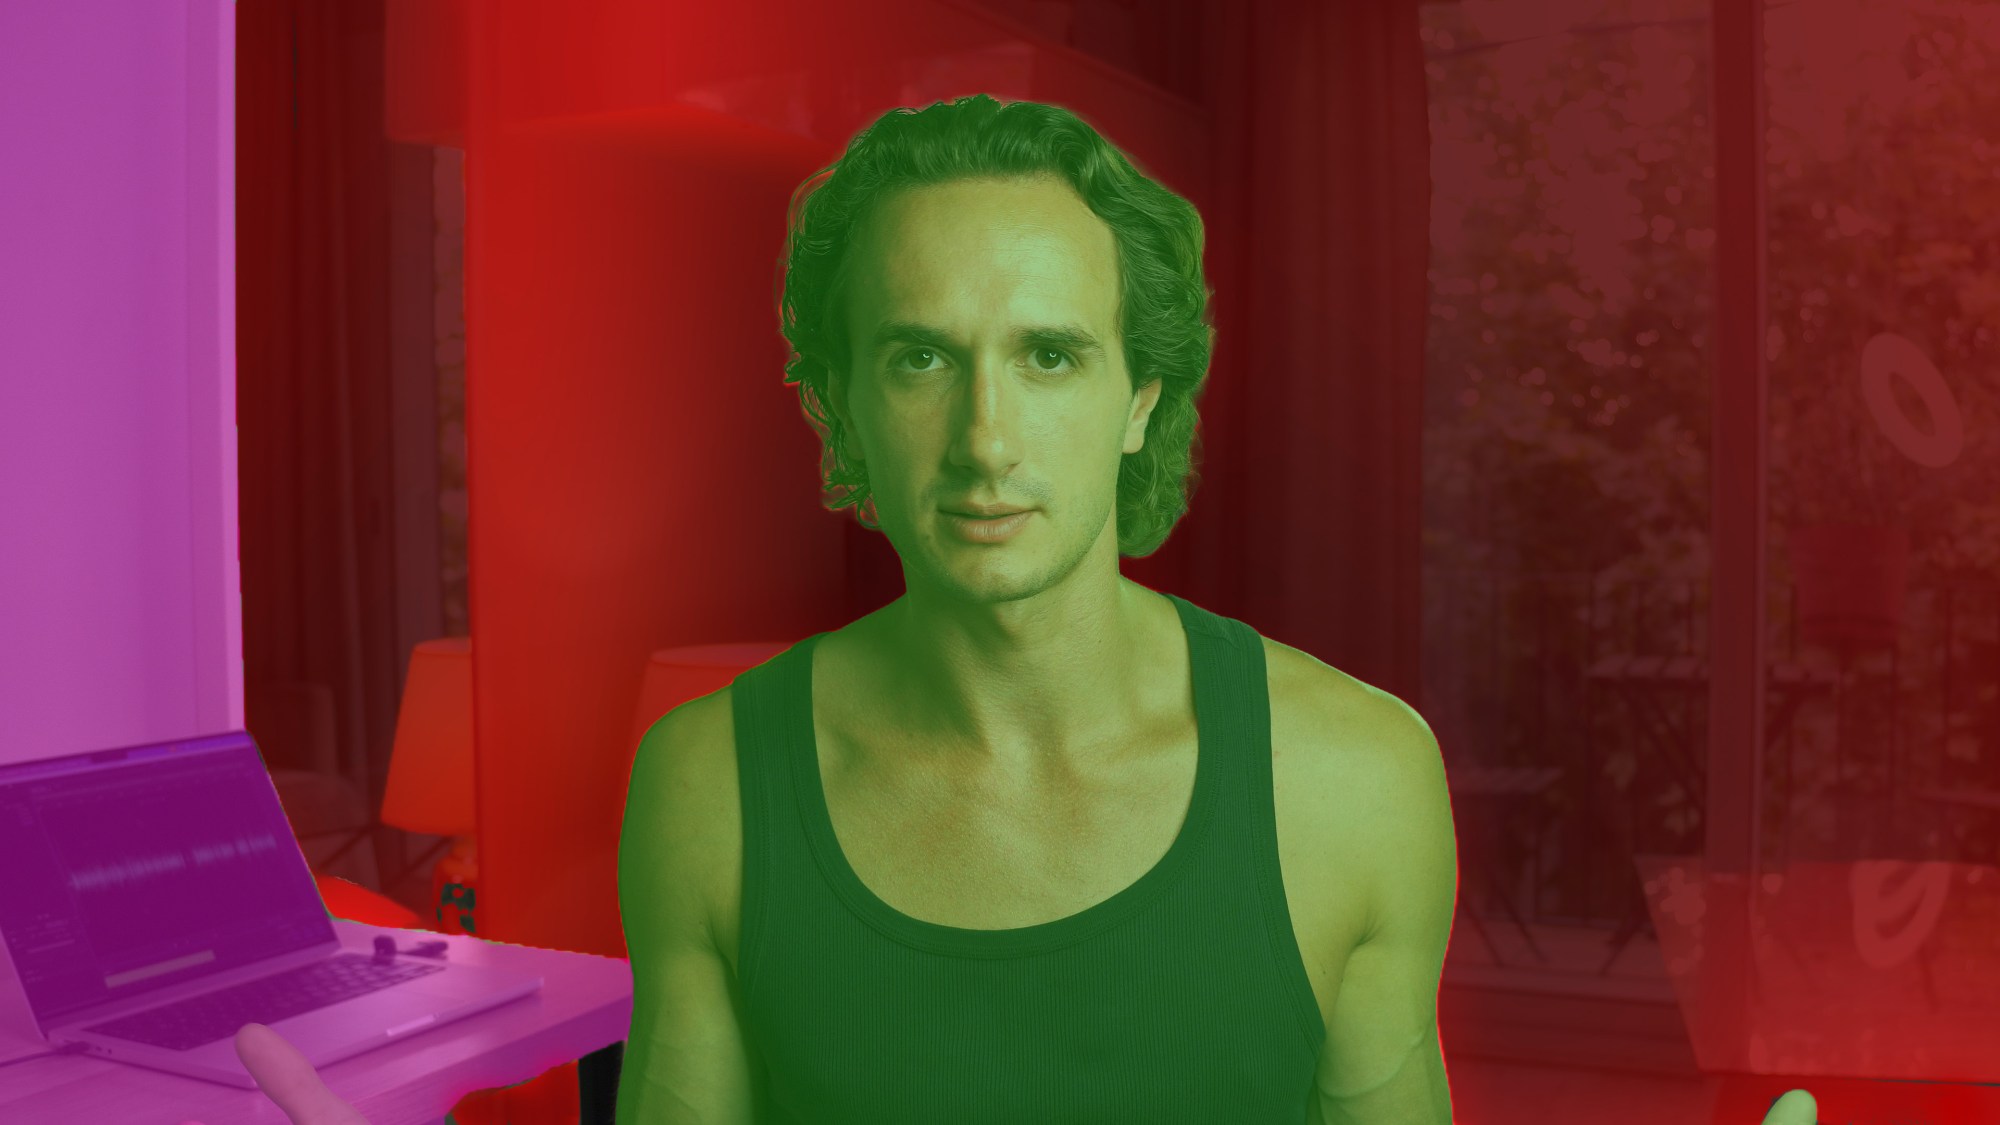
#1 Lighting Is Everything – RGB Blade
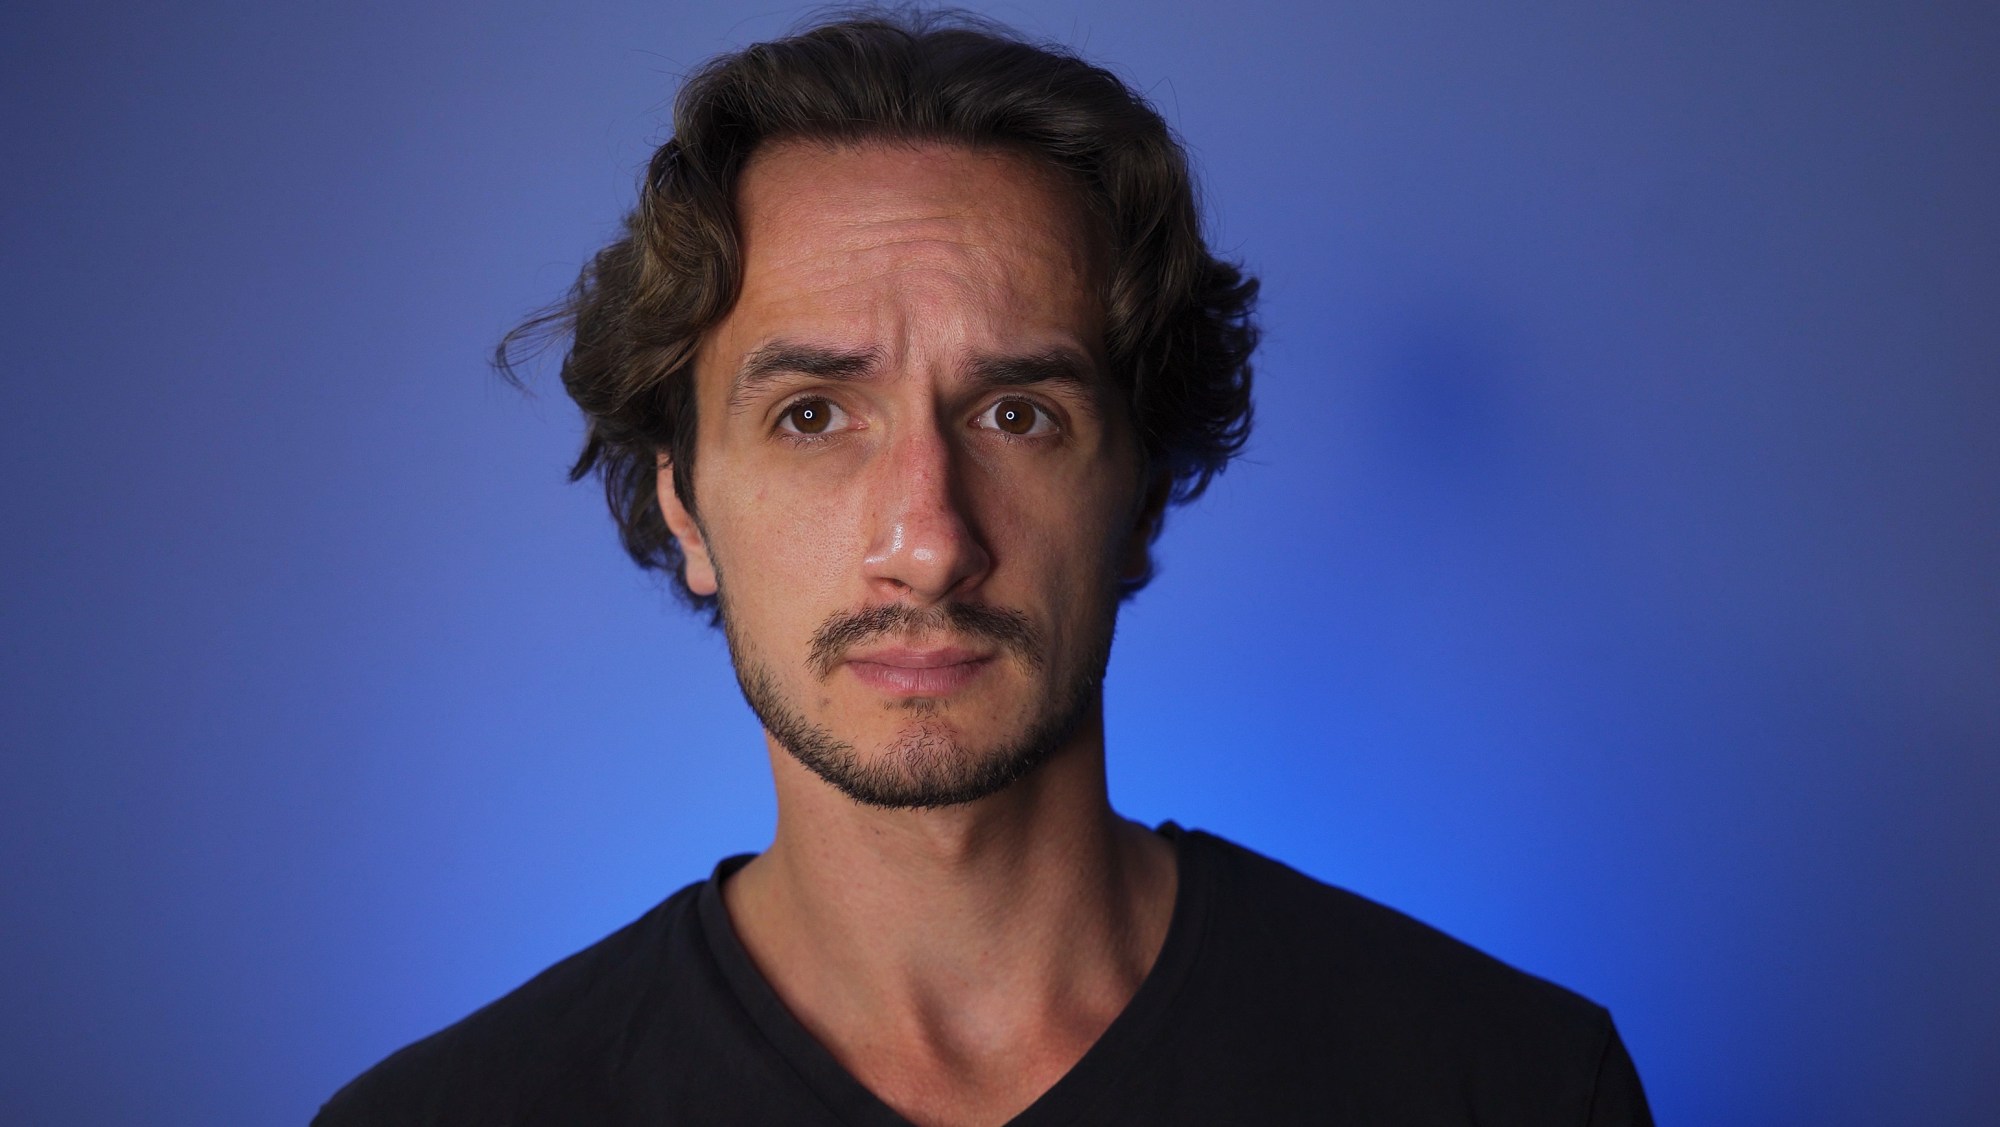
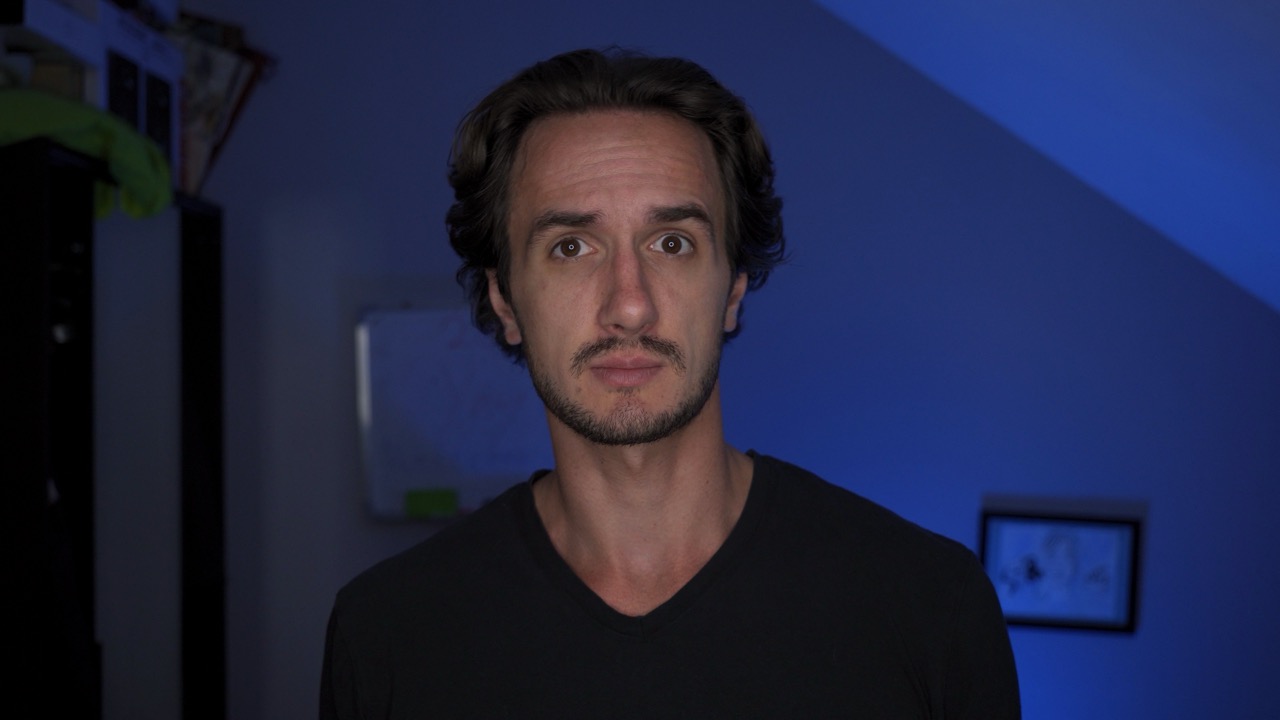
One of the biggest hacks is lighting. I mean that goes without saying, right? If a scene is lit well it’ll look good. Take a look at this shot, for example—me sitting at a desk with a plain wall behind me. Sometime this is all we get. A wall and a desk and the rest is up to us.

This is the same setup I’ve used for a lot of my UniConverter videos. It’s very minimal but without any lighting, it doesn’t look great.
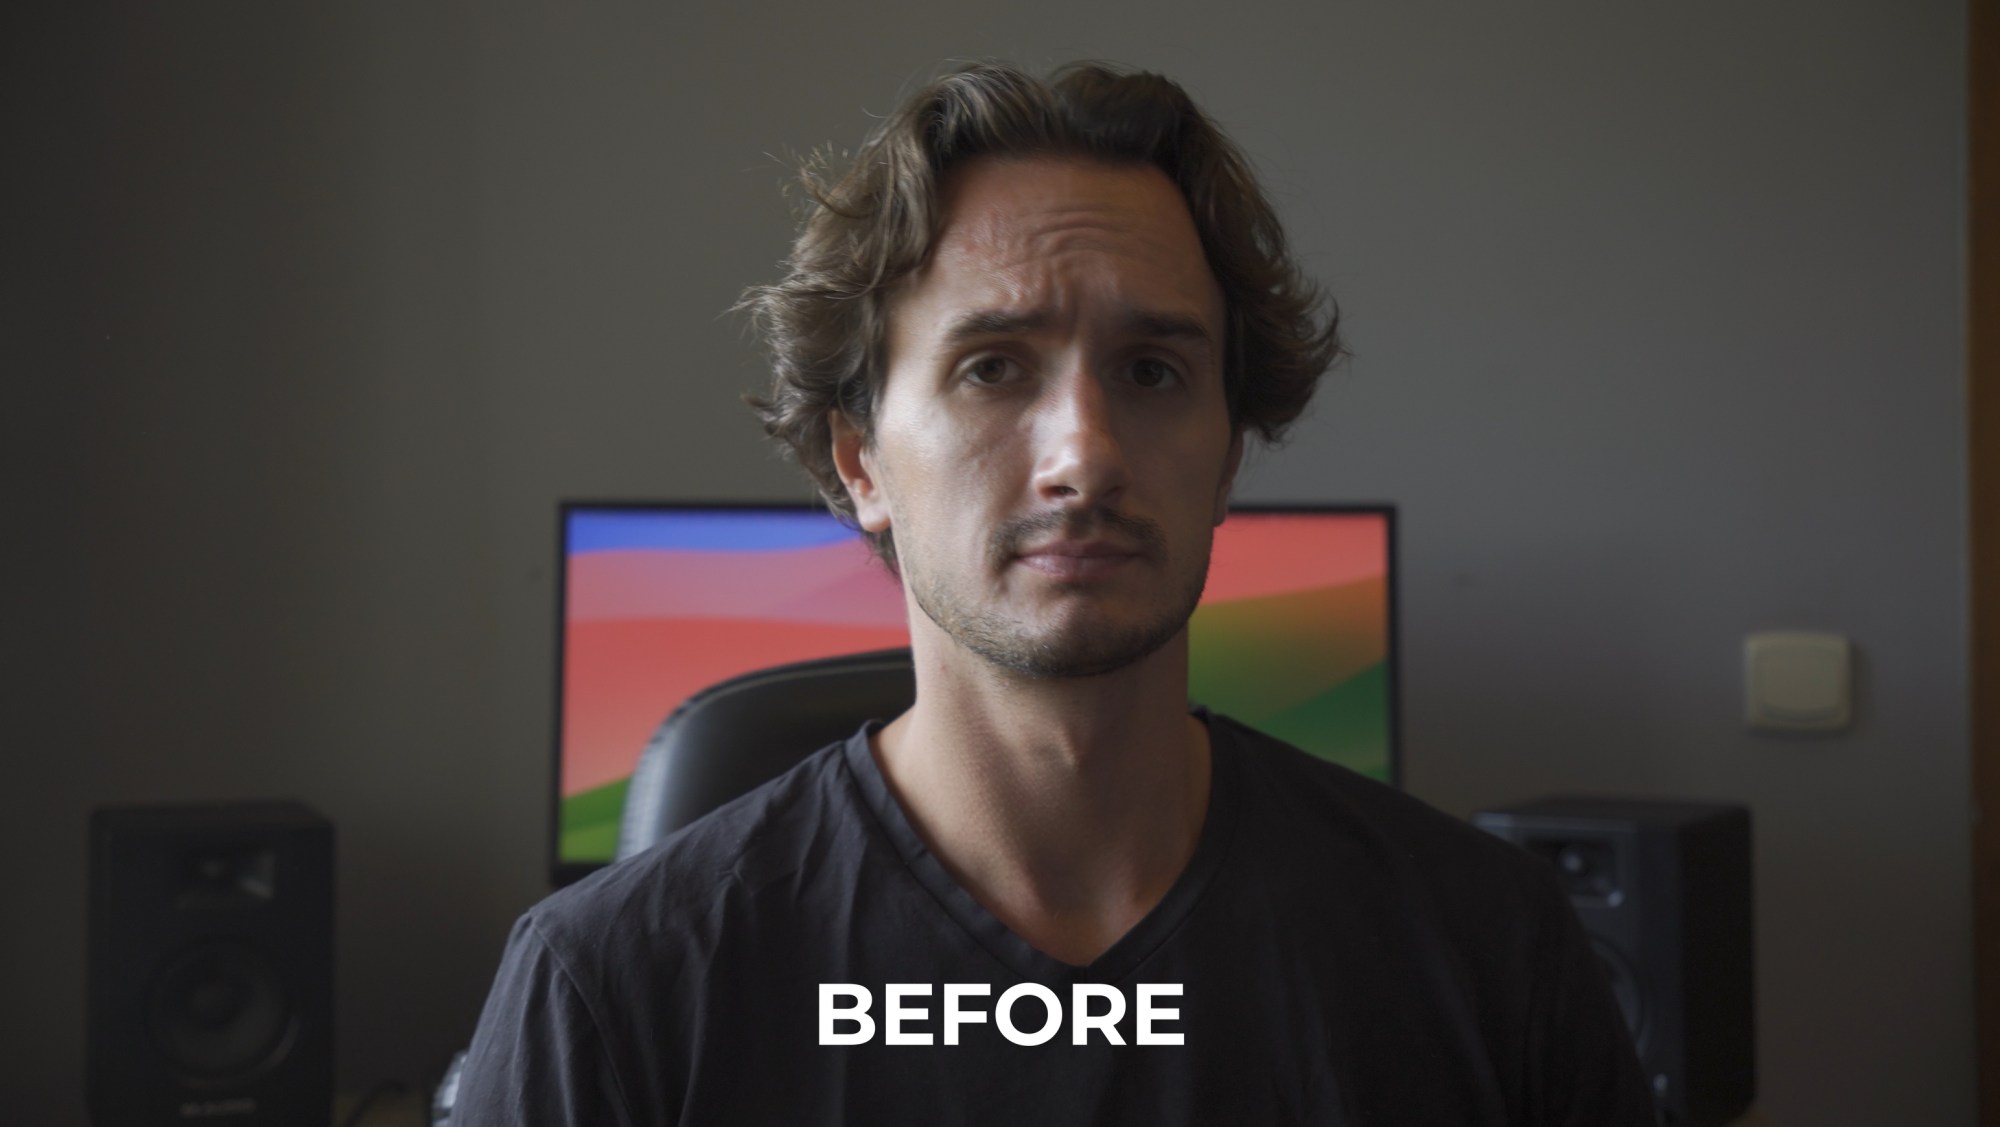
The good news is that you don’t have to be a pro at lighting to achieve a pro look.
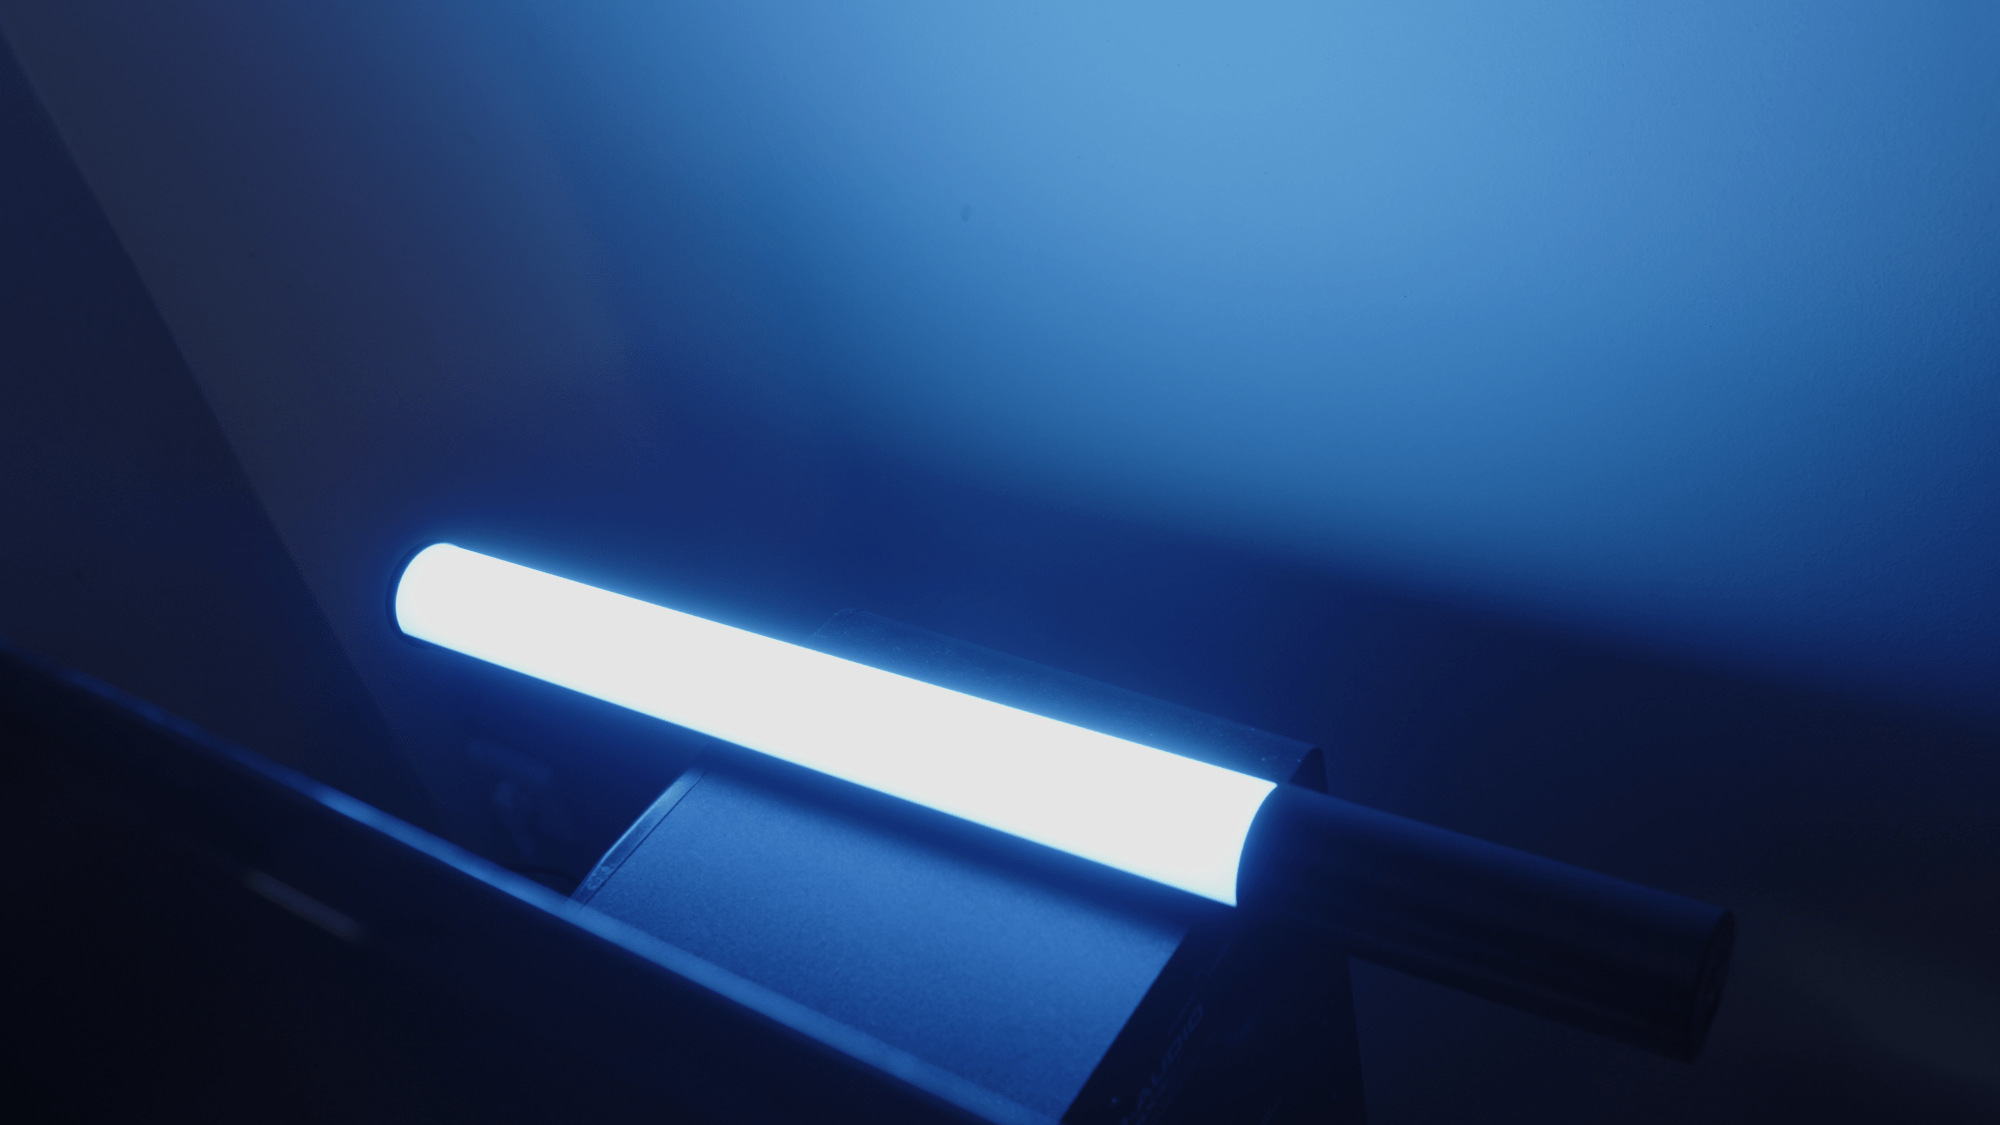
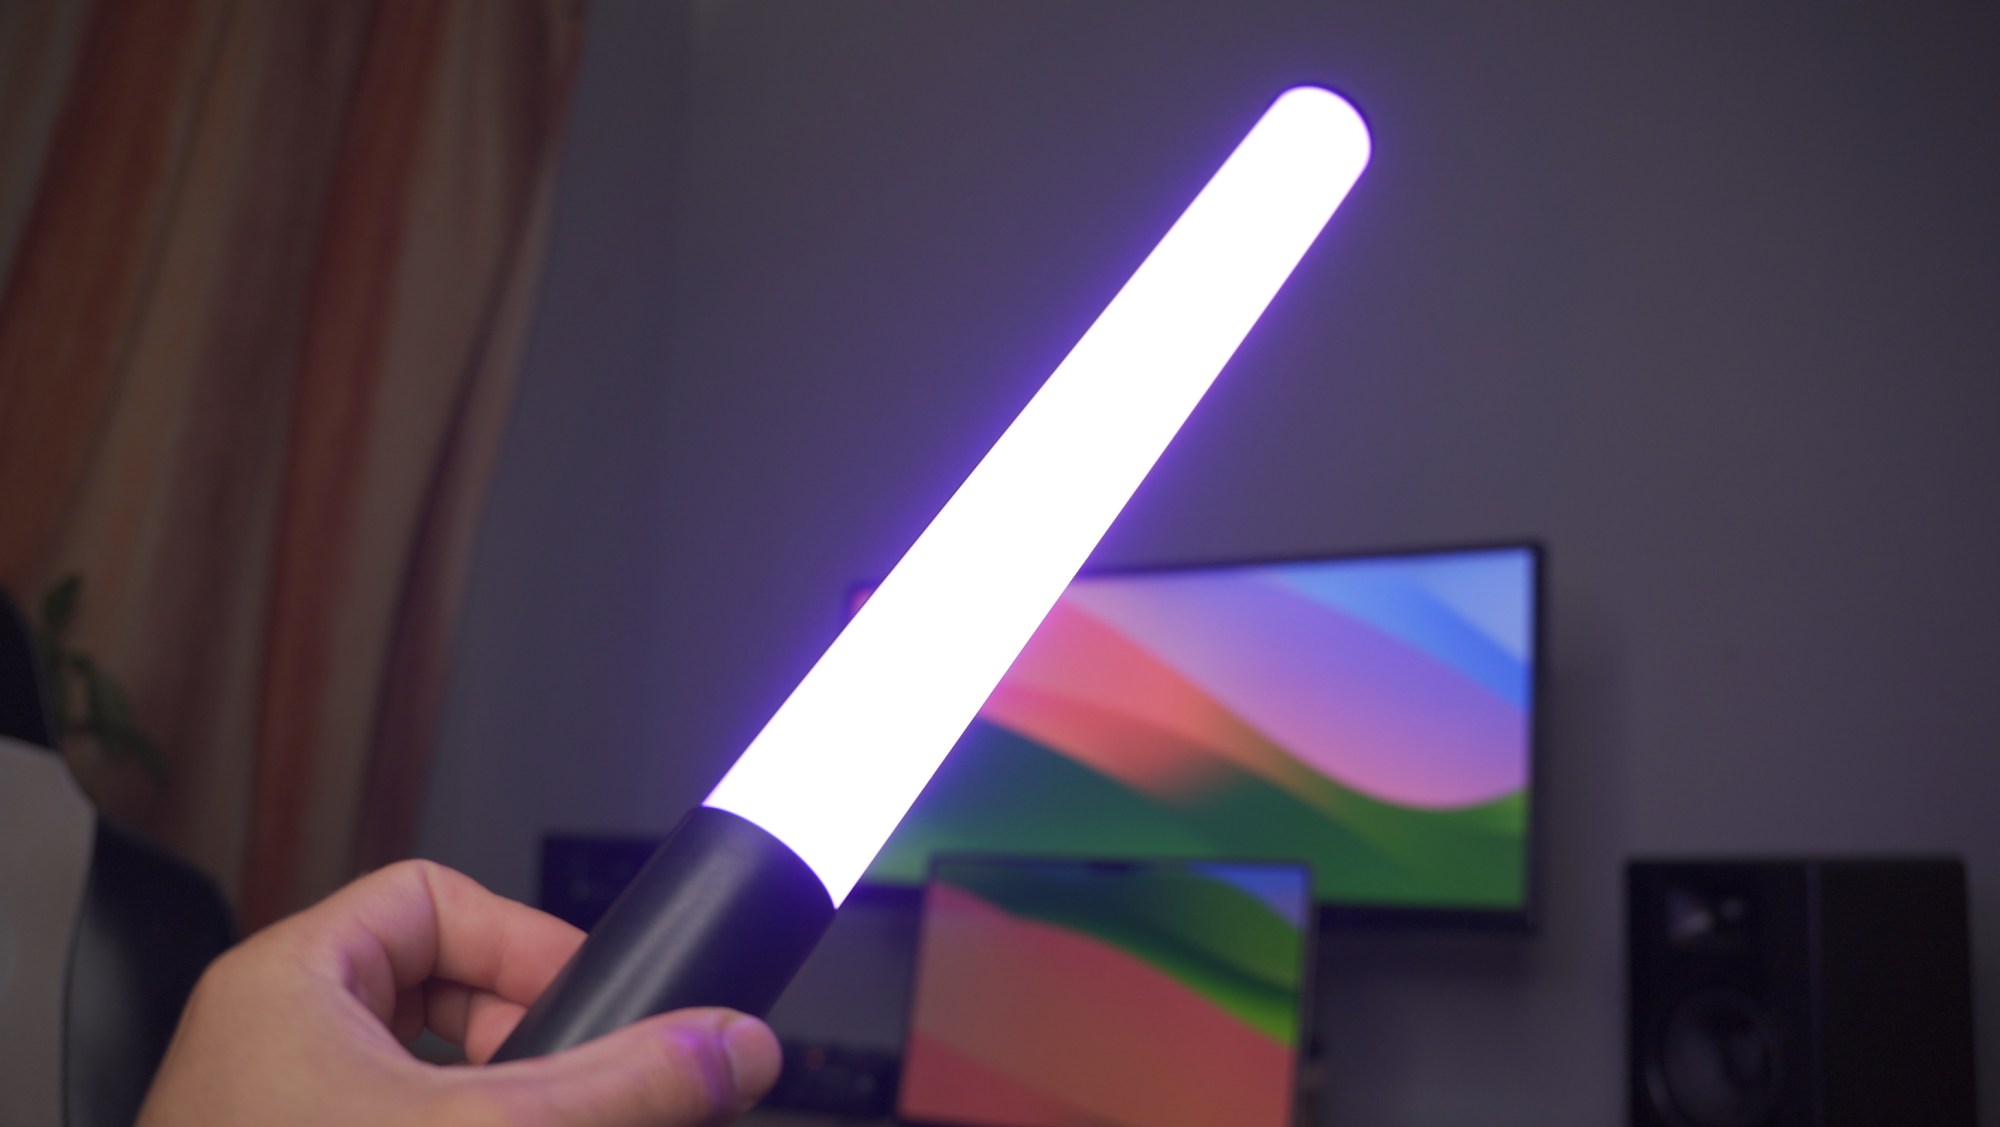
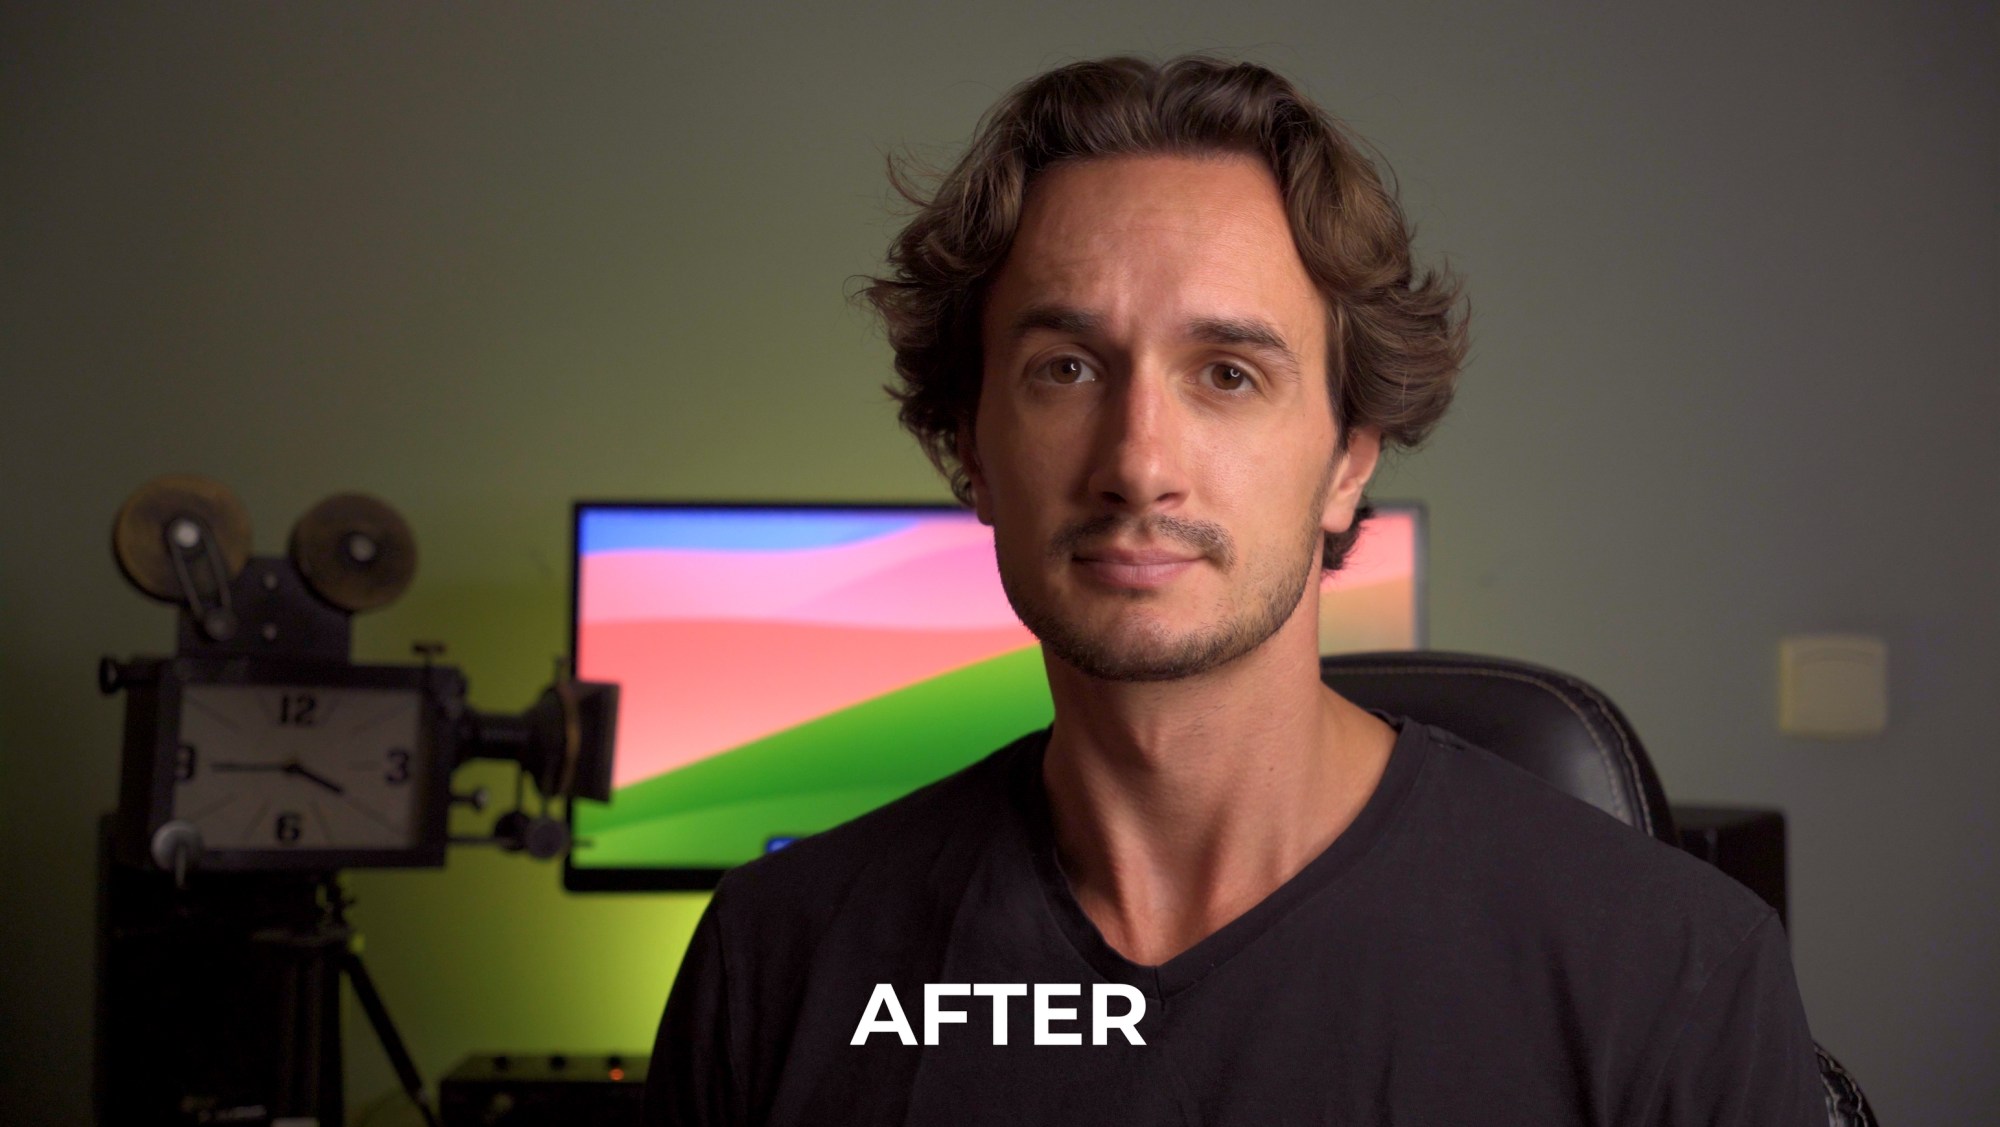
My favorite hack for lighting is an RGB LED Blade. I got mine for $30 from Amazon and I love it. It’s very versatile, adjustable in brightness and color.
You can get yours by clicking here.
What I like to use it for is painting plain walls to different colors. You just need to position it a little away from it and it’ll give it a beautiful glow. It’s such a small thing, but it makes a huge difference, and most of all, it turns an amateur look into a professional one.
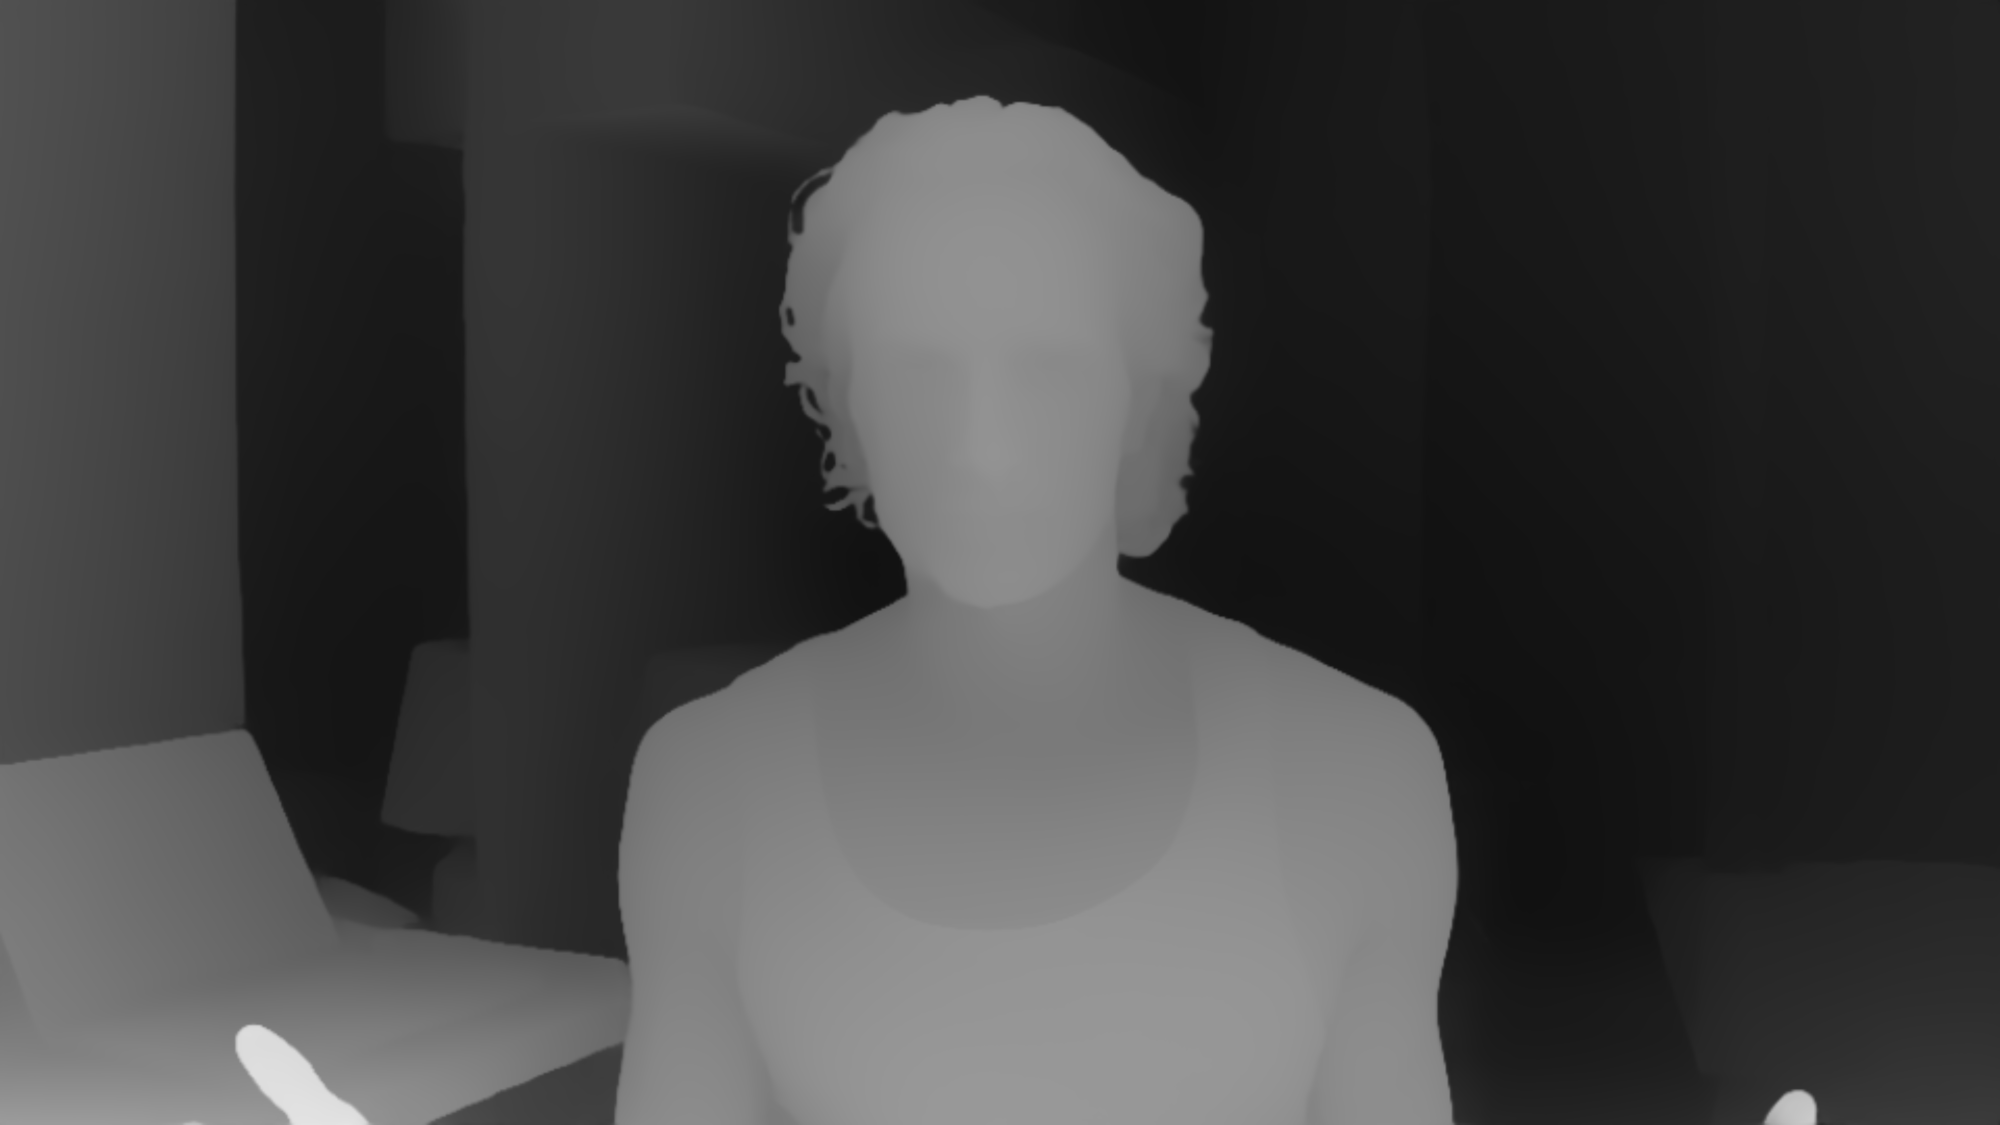
#2 Create depth
Adding depth to your video background alone can change the look of your video drastically. You can have the same camera crop, but with added depth, the image will feel way more open.
This effect will be greatly affected by your choice of lens as well.
#3 Lens Choice
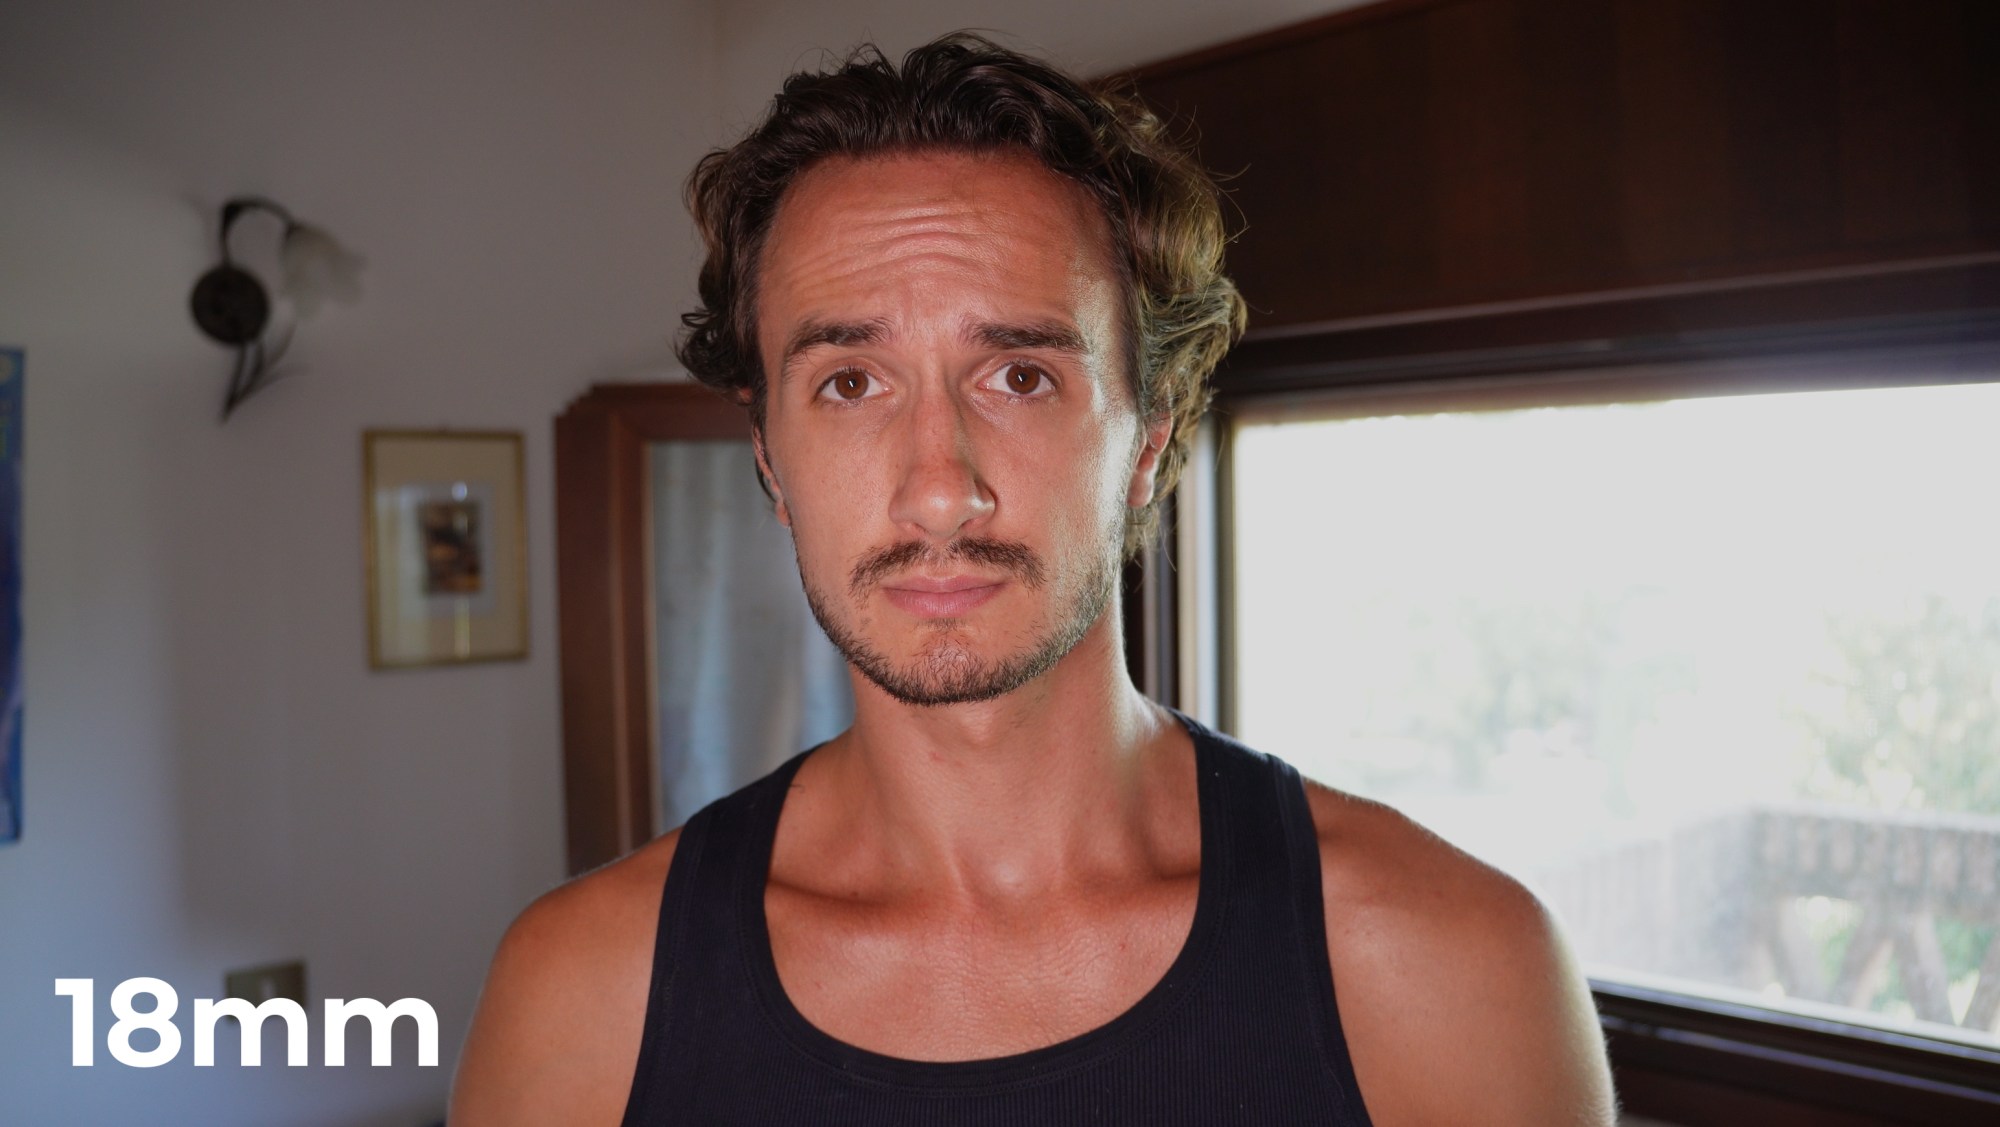
Using a wide focal length and being close to the camera will open up the space behind you, creating more depth. It’s a good hack to make a small room look more spacious. Of course, using a wide focal length can be a necessity as well since you might not be able to move the camera far enough from you. That said it’s good if you use these intentionally.
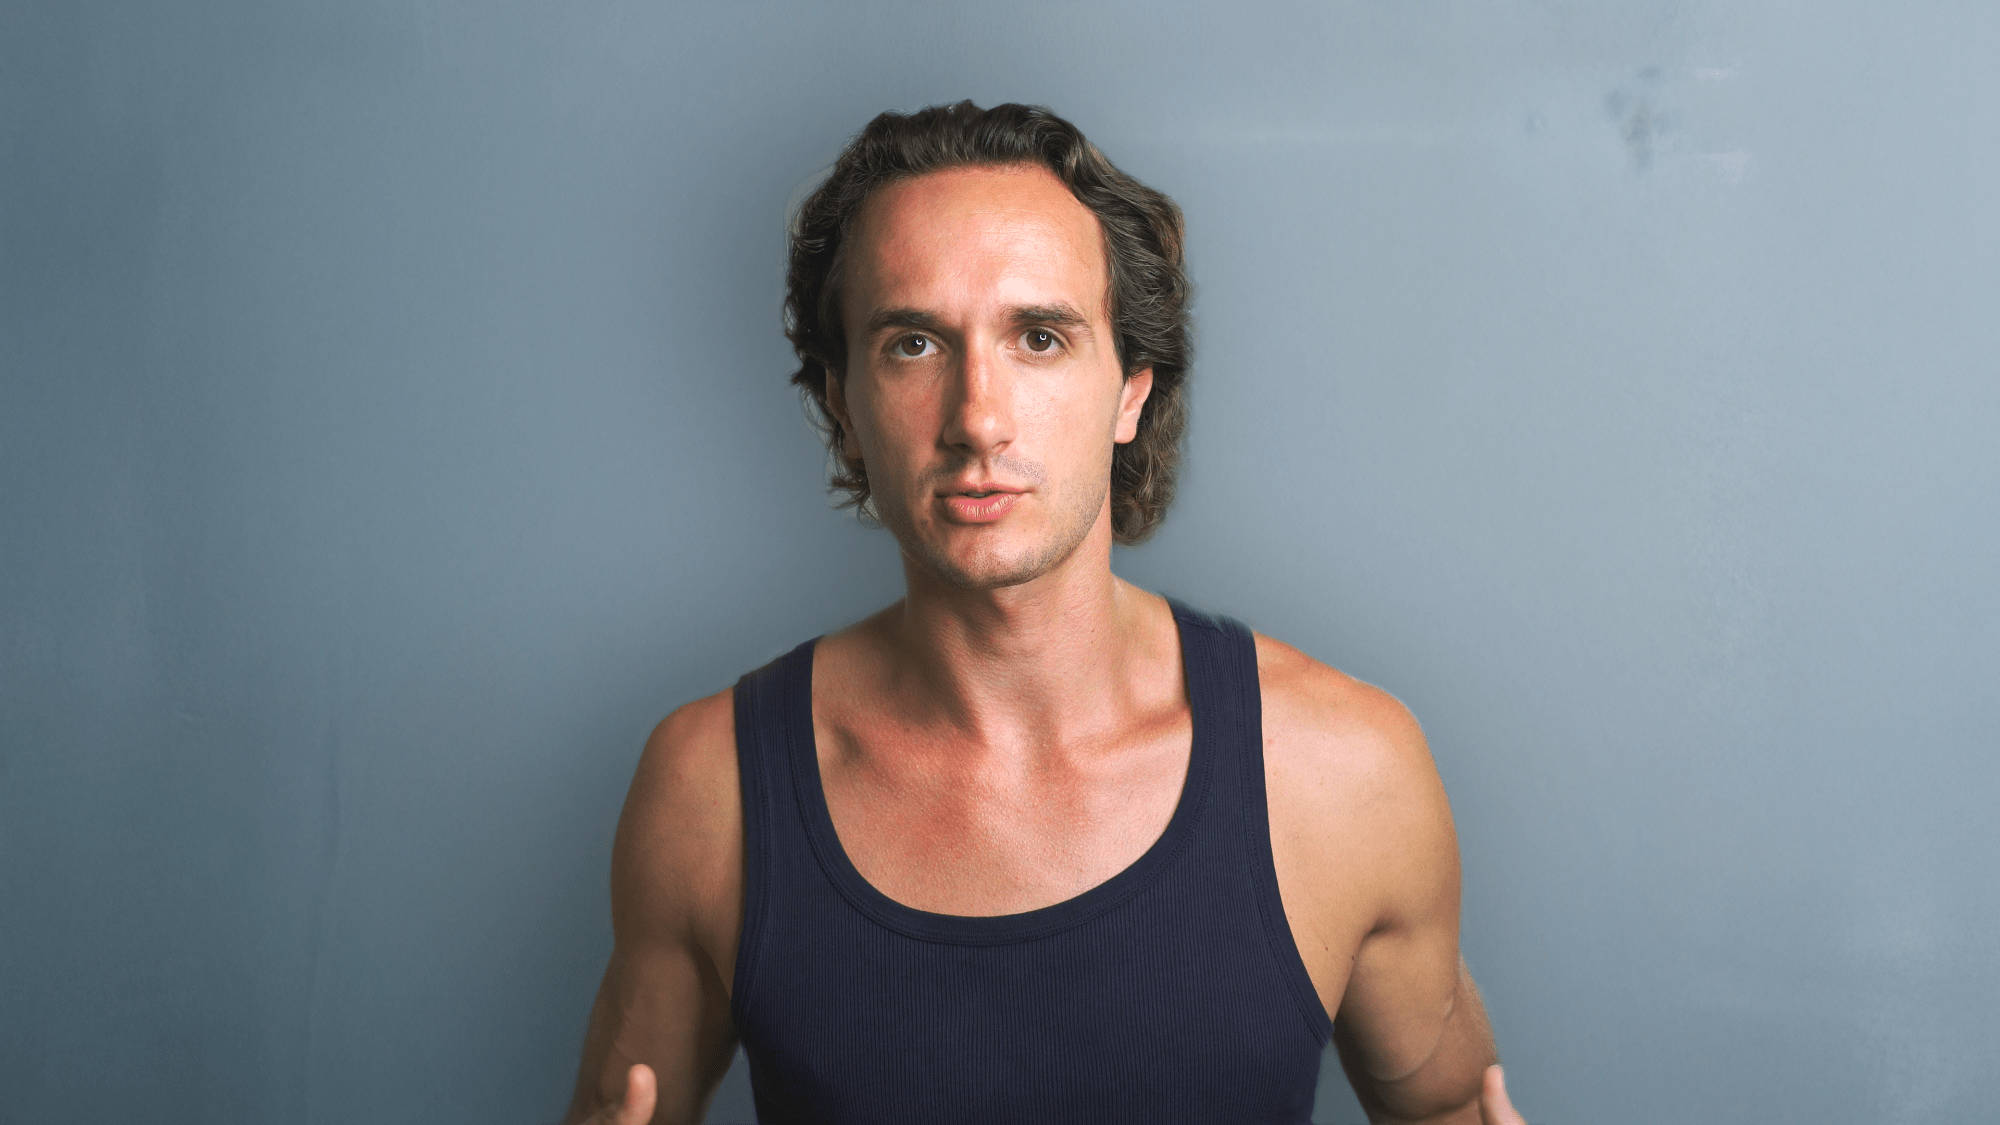
A narrow focal length will shrink the background. In other words, it’ll bring the background close to the subject.
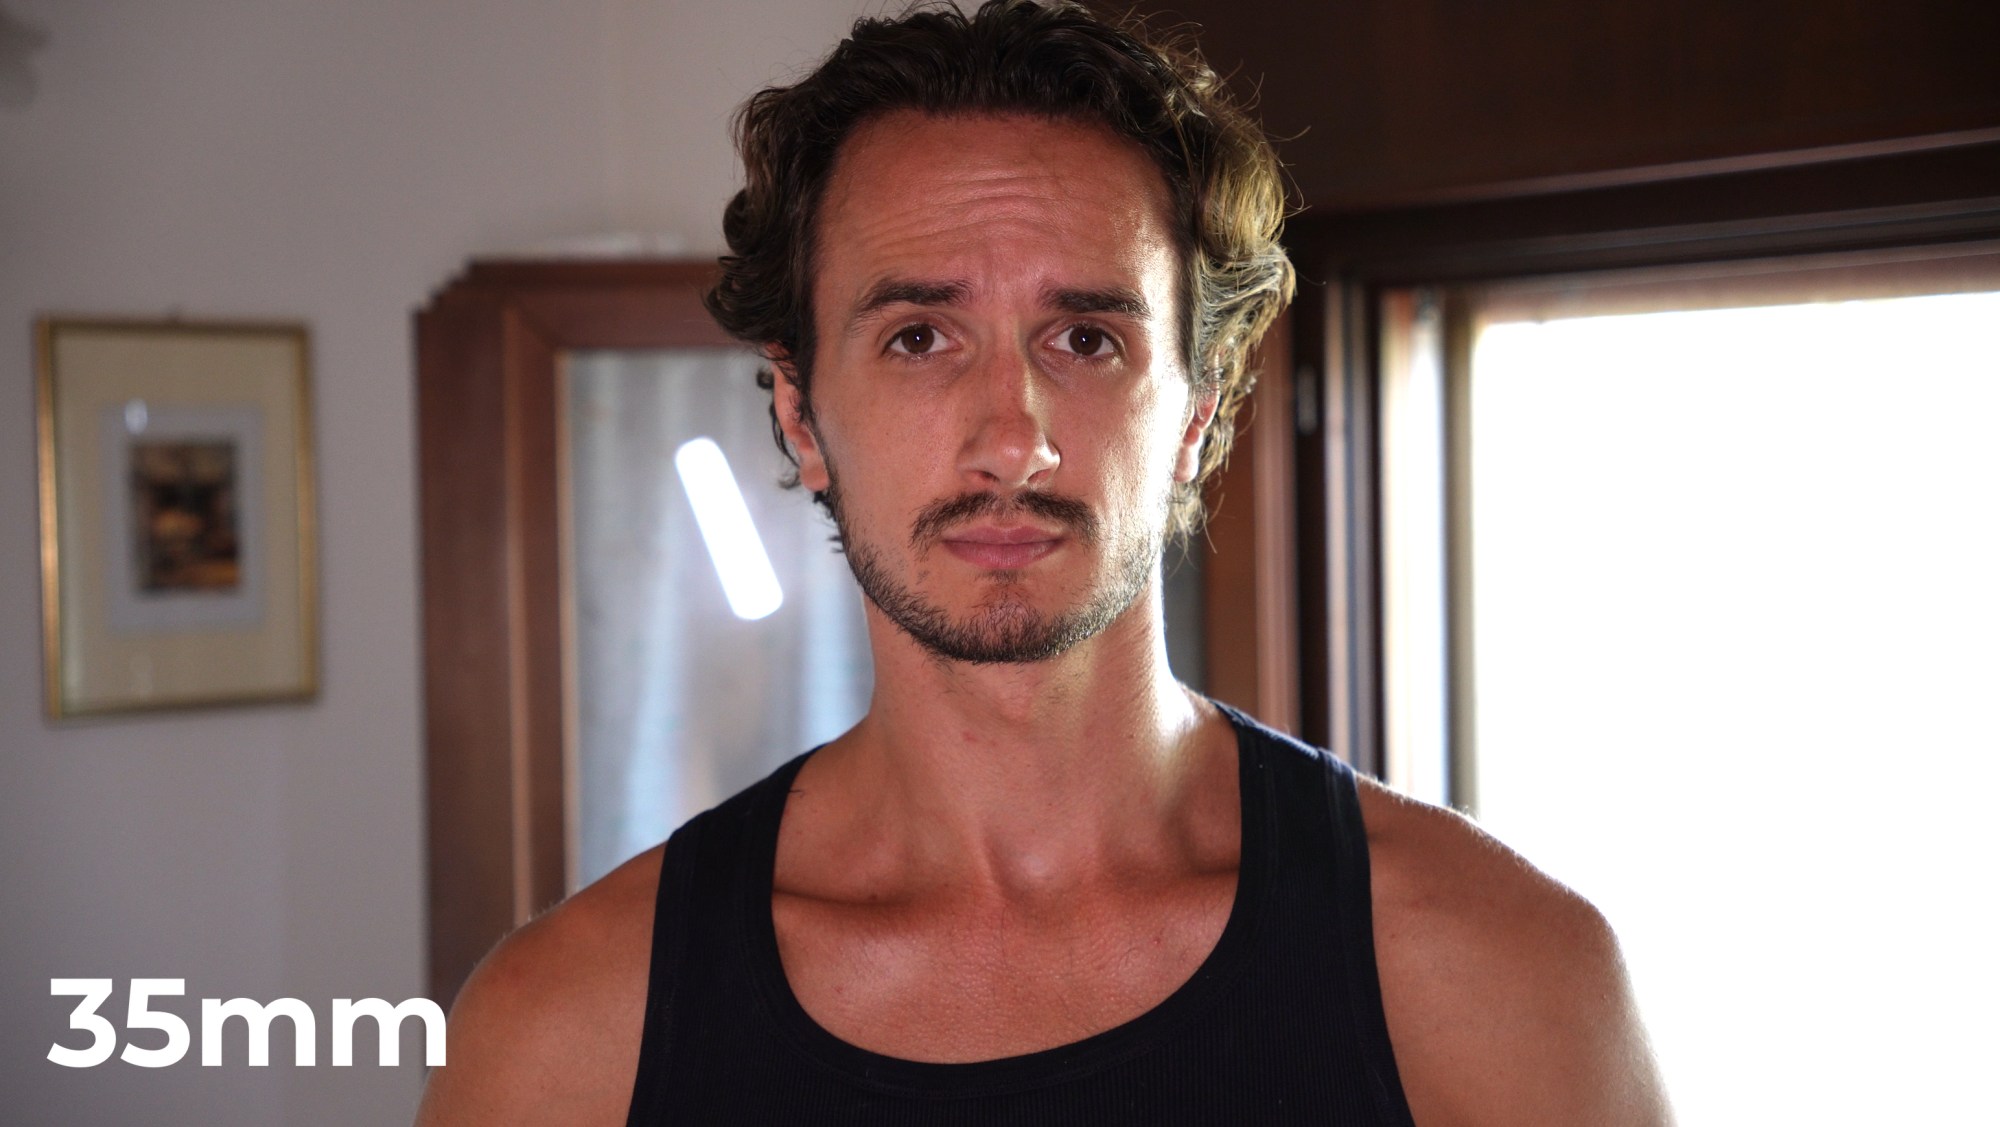
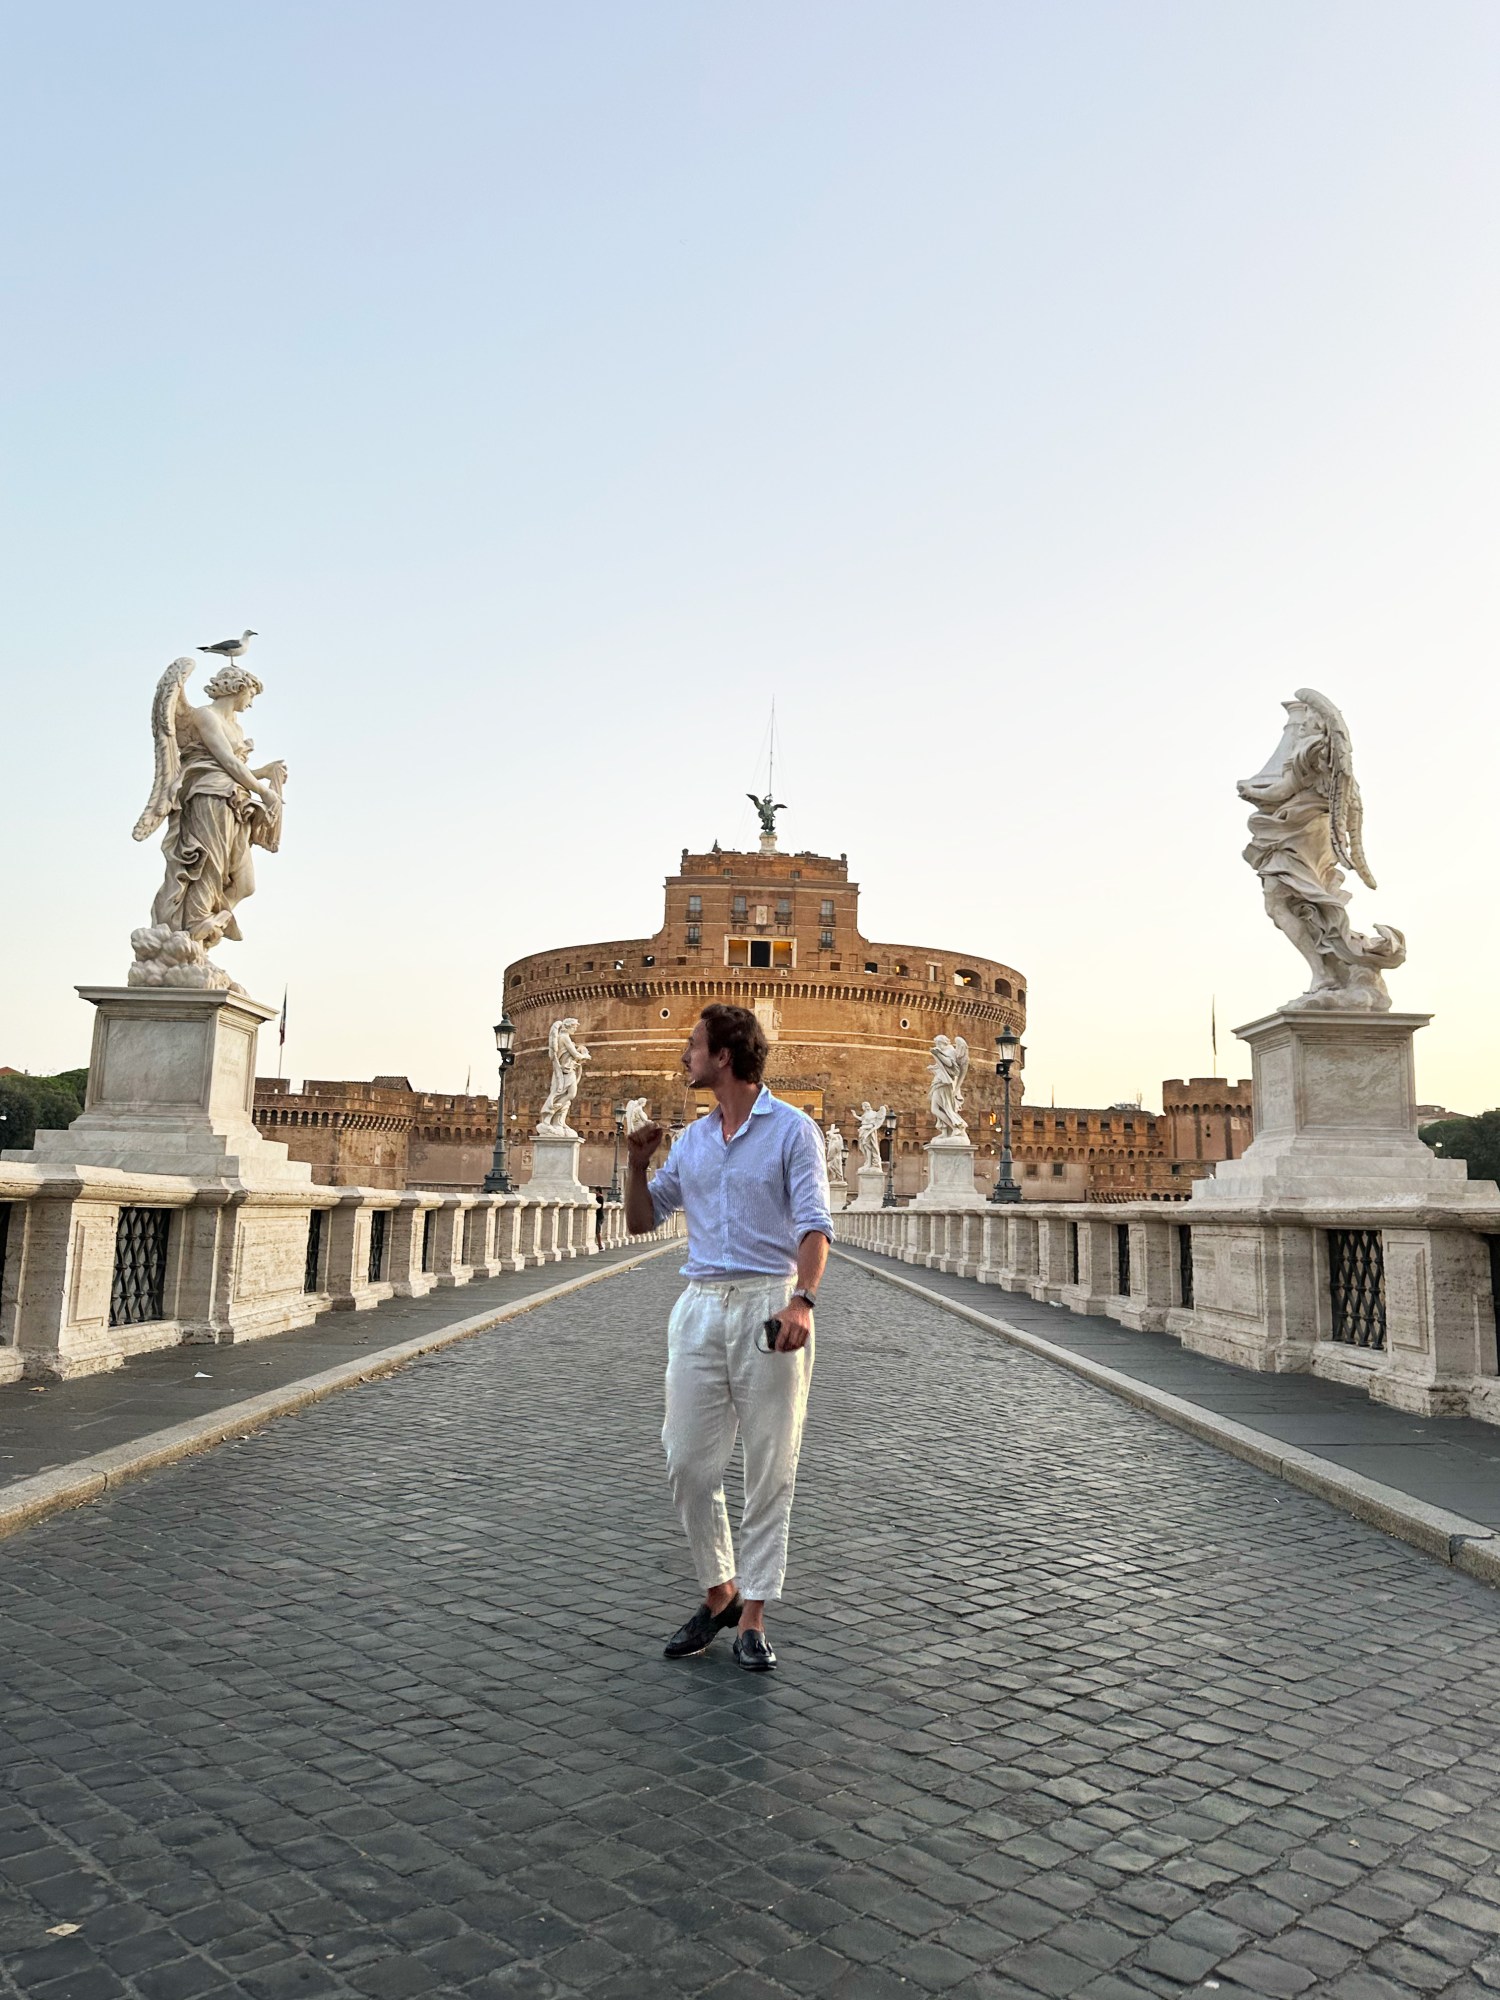
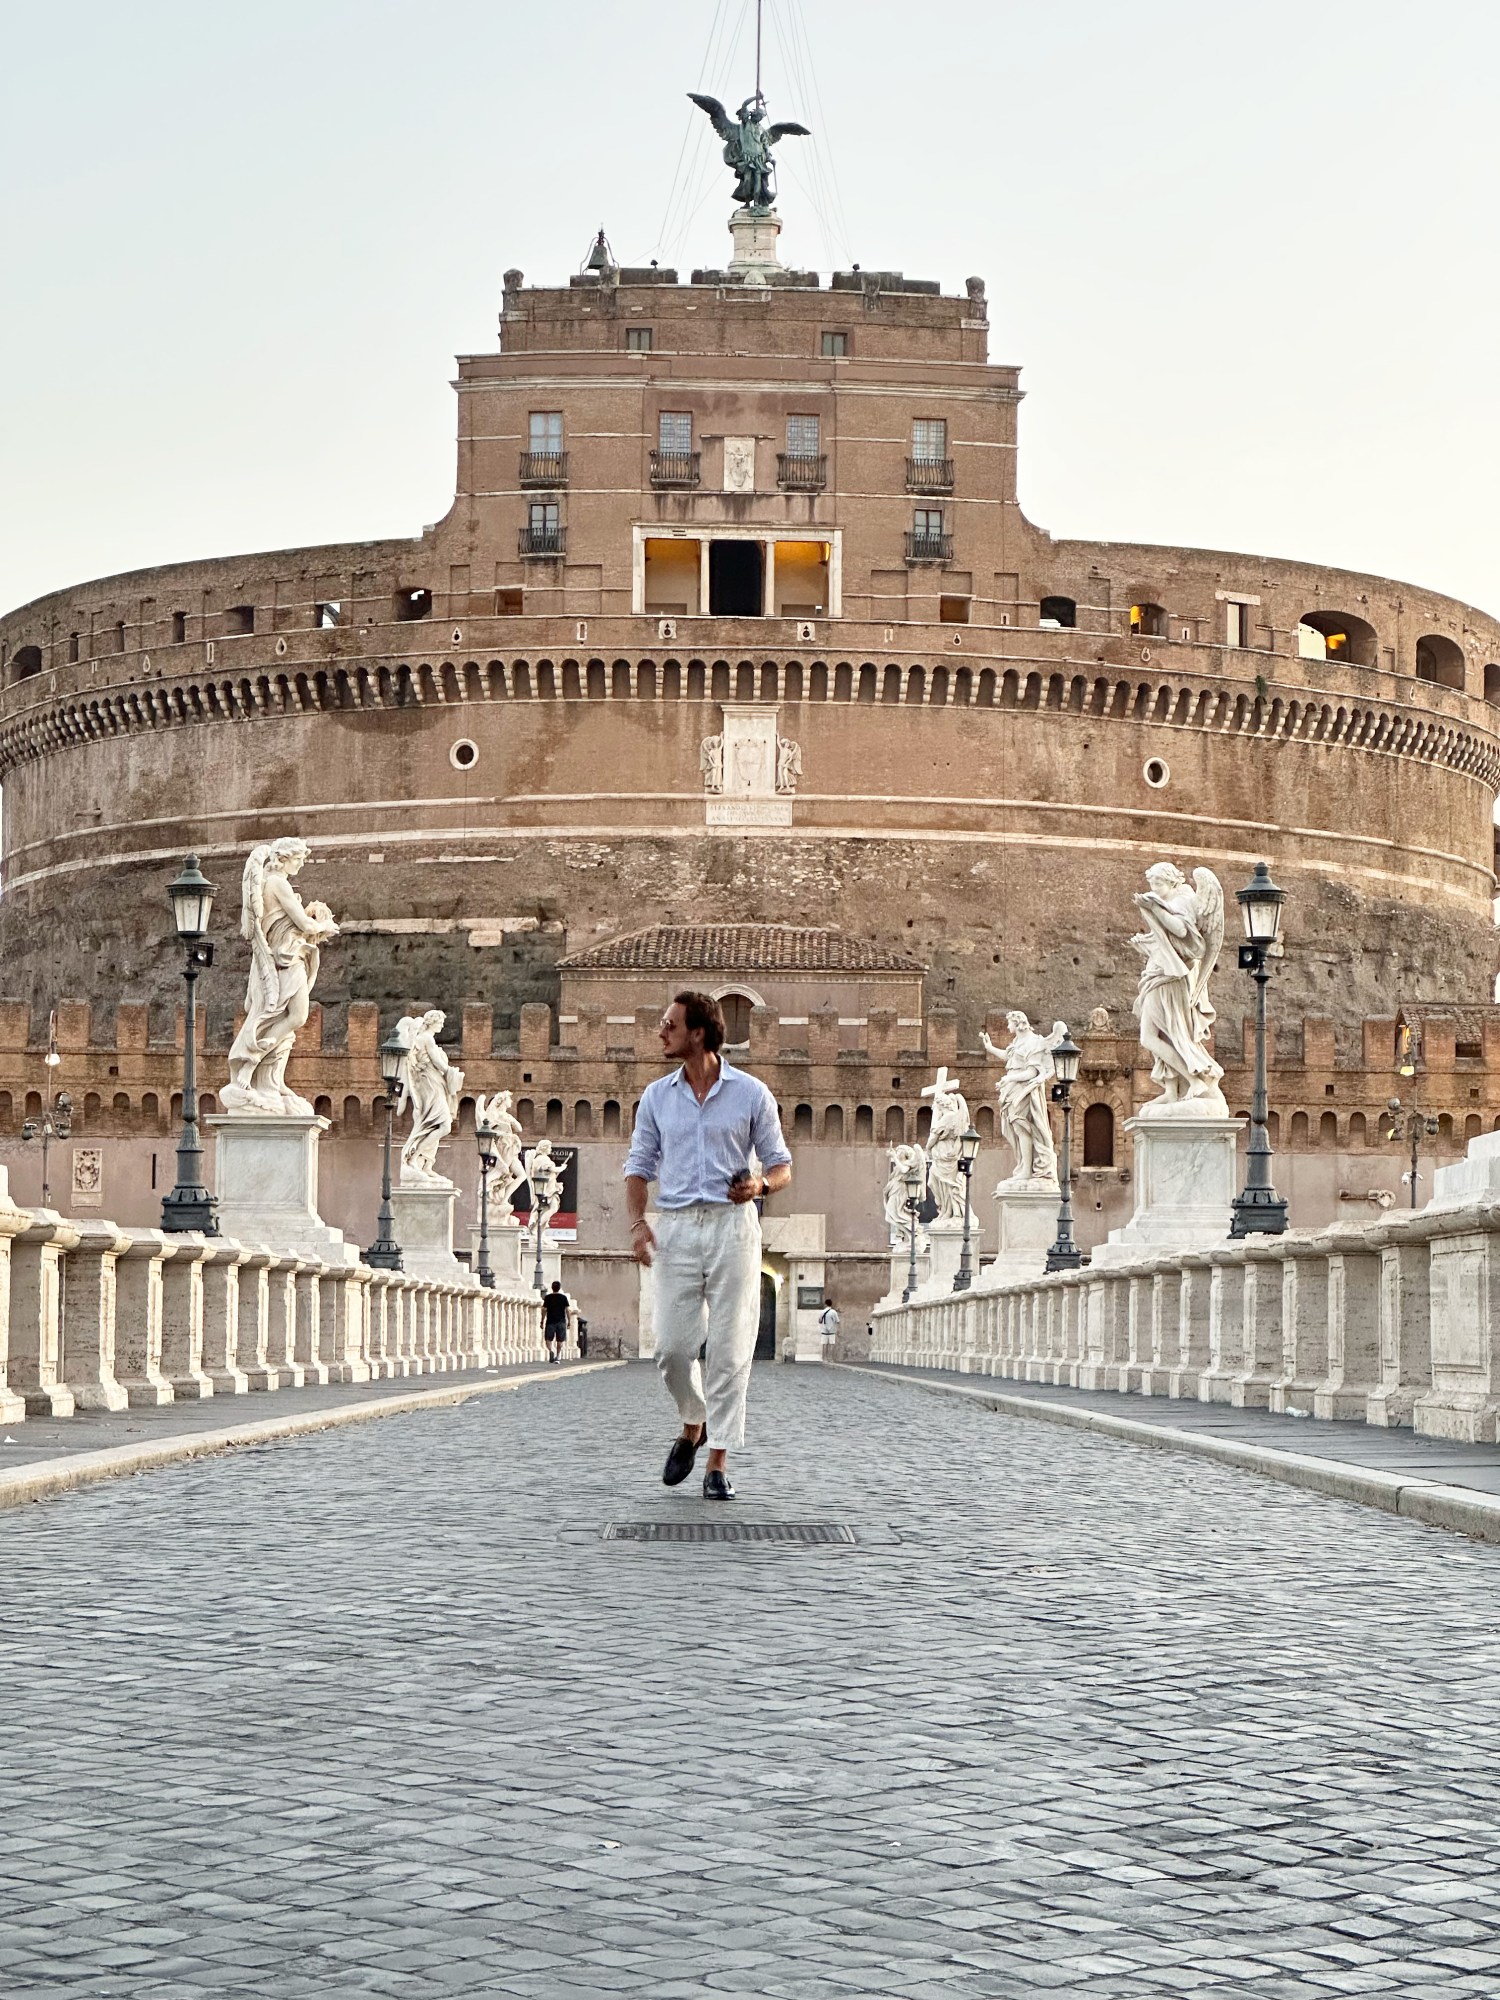
You might be familiar with this effect from taking photos with the normal and wide-angle lenses or the macro len using your phone. For the first photo, the photographer was barely a few steps away from me, while for the second one she had to be almost halfway across the bridge. The effect however is very obvious.
#4 Camera Angles
Depending on how you position your camera, the lines and the perspective in your image change which will ultimately affect the look of the shot.
The camera angle of the two shots in order
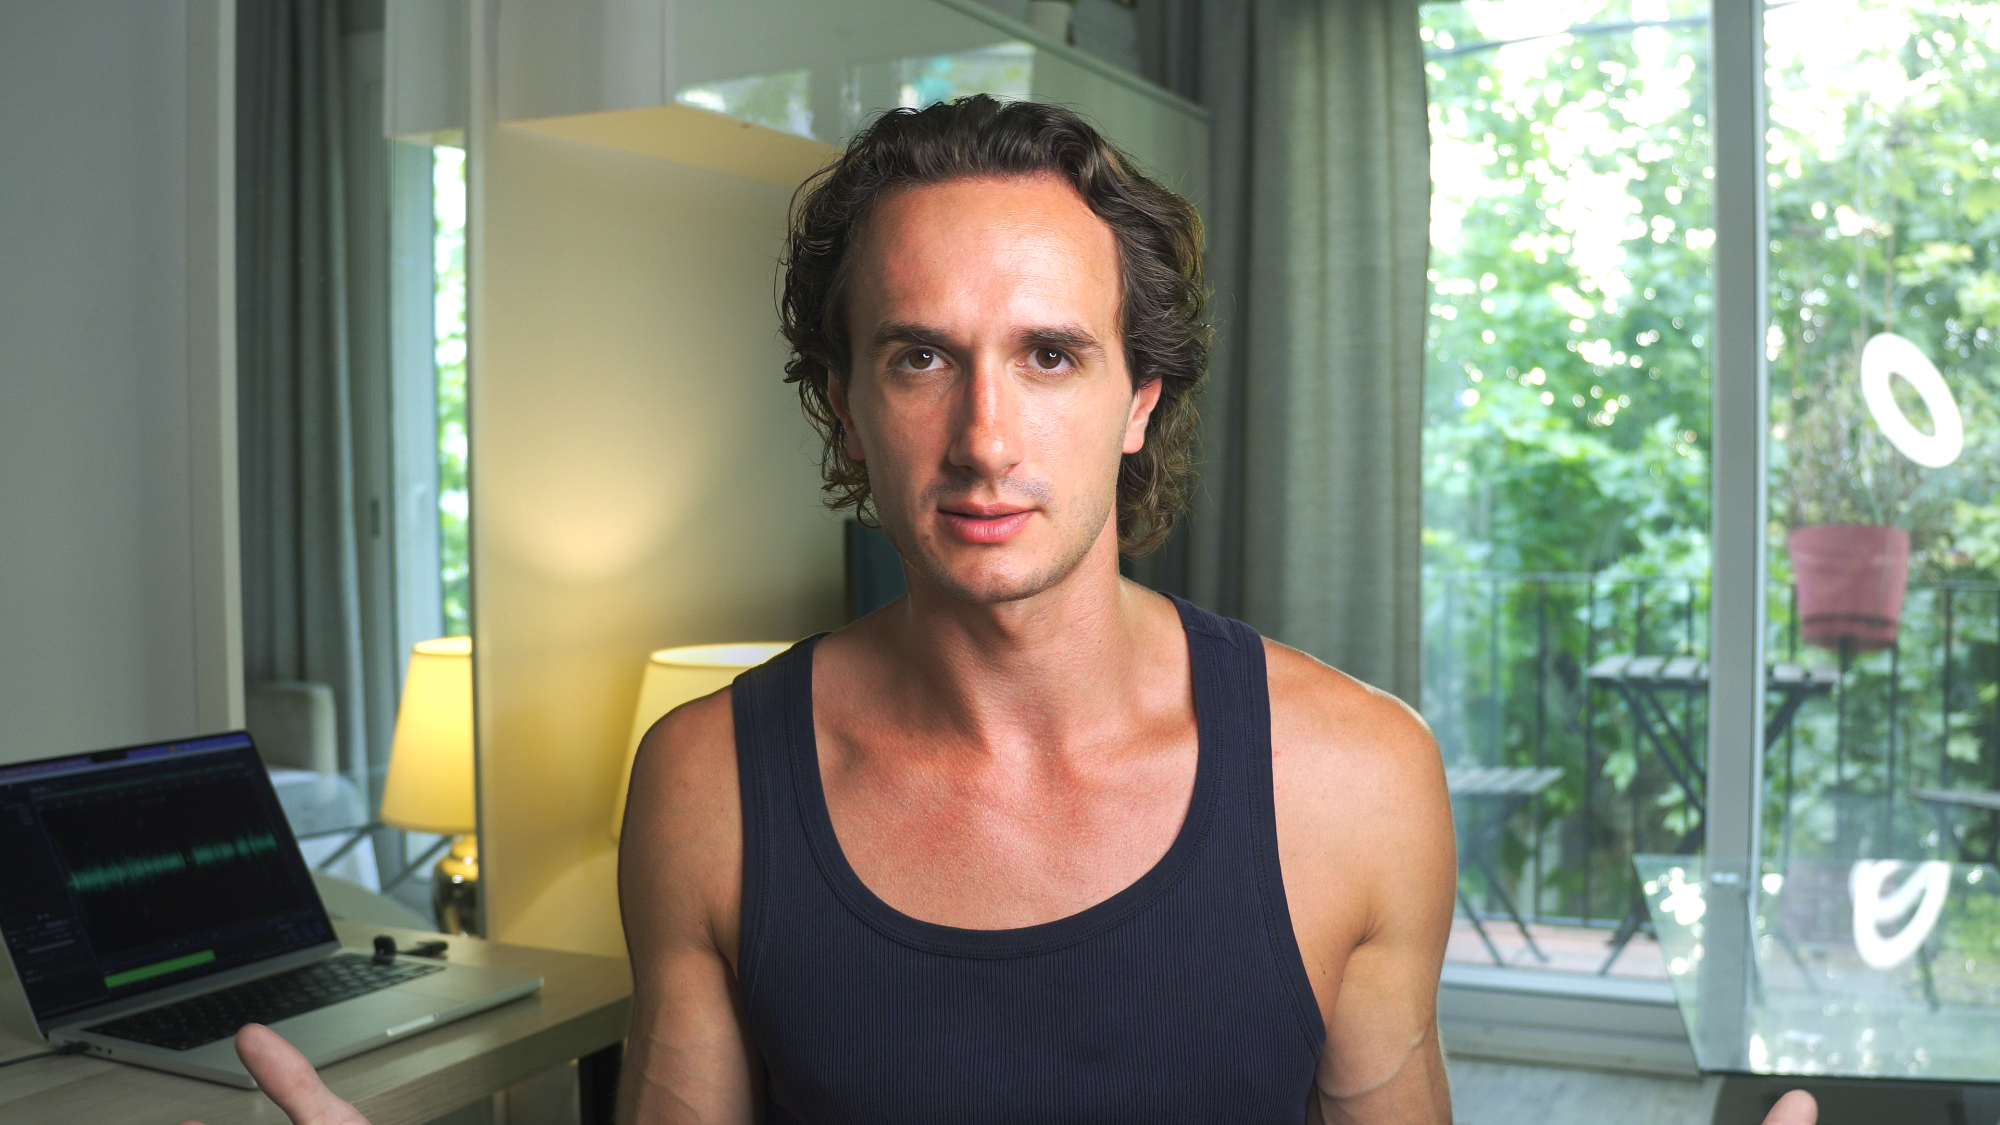
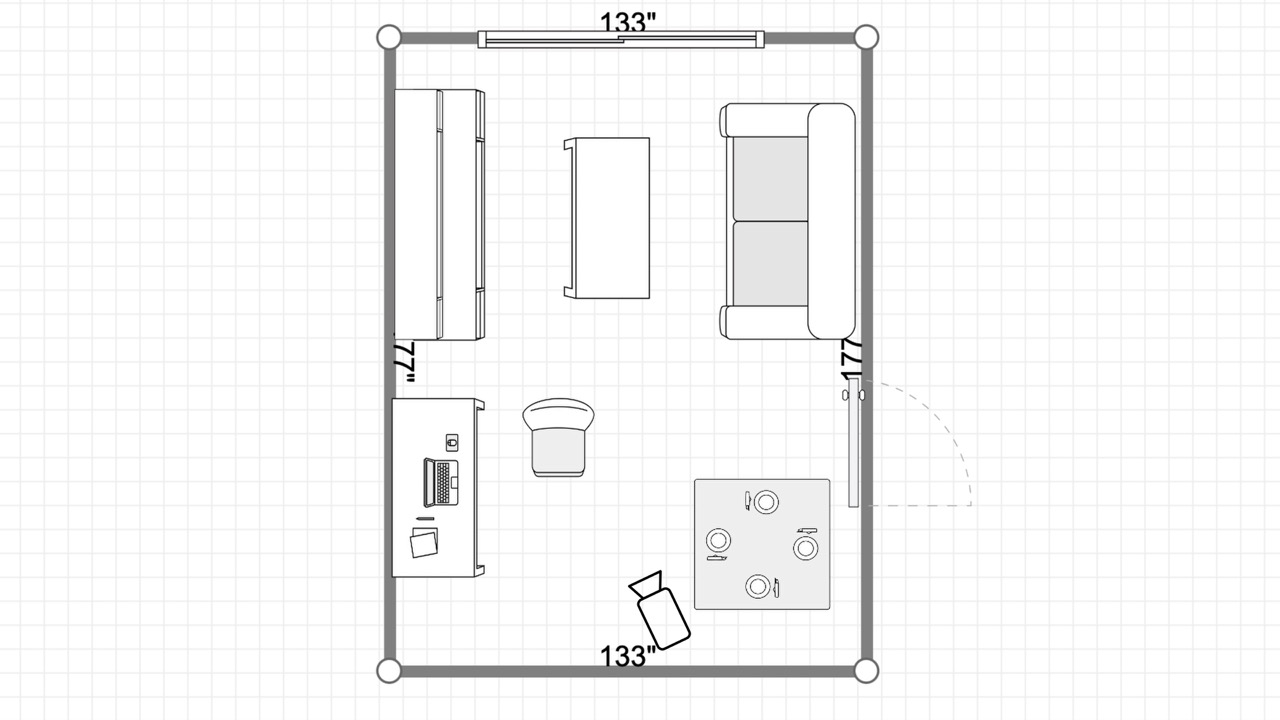
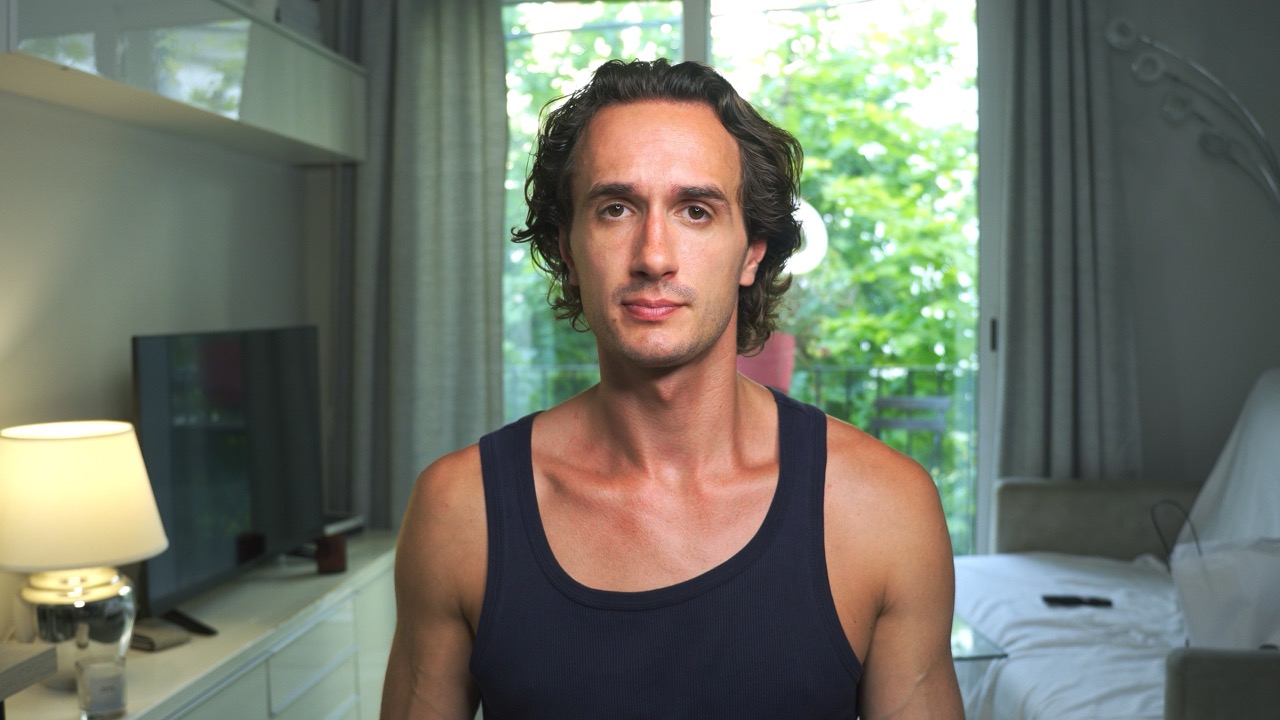
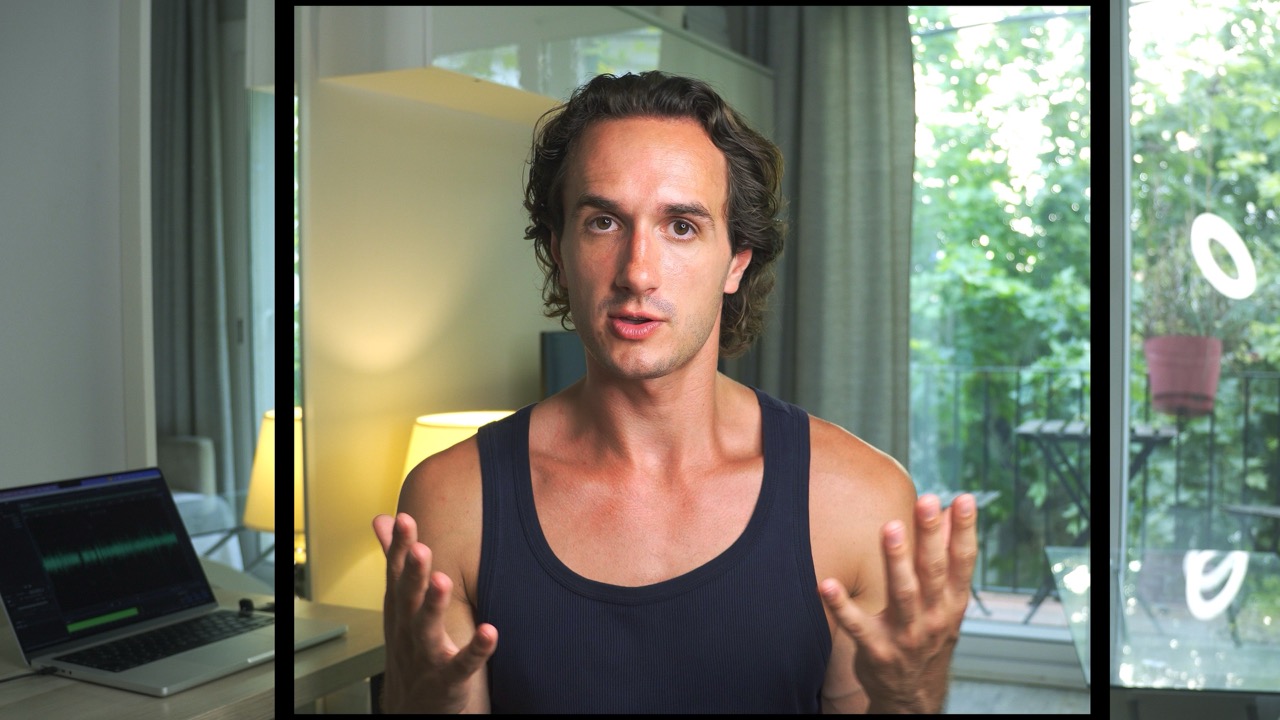
For instance in this room where I filmed my video I chose an angle where I have a little foreground on the side but there’s still a good amount of depth in the image.
Also, I’m not entirely in front of the glass door in the back, but it still slightly cuts in. Simply put, the shot has multiple layers and depth levels.

But if I had the camera pointing directly at the window like in this shot, the image would look a lot flatter—even though the space is exactly the same. This is because the angle of the lines on the sides are not as open and there is no foreground either.
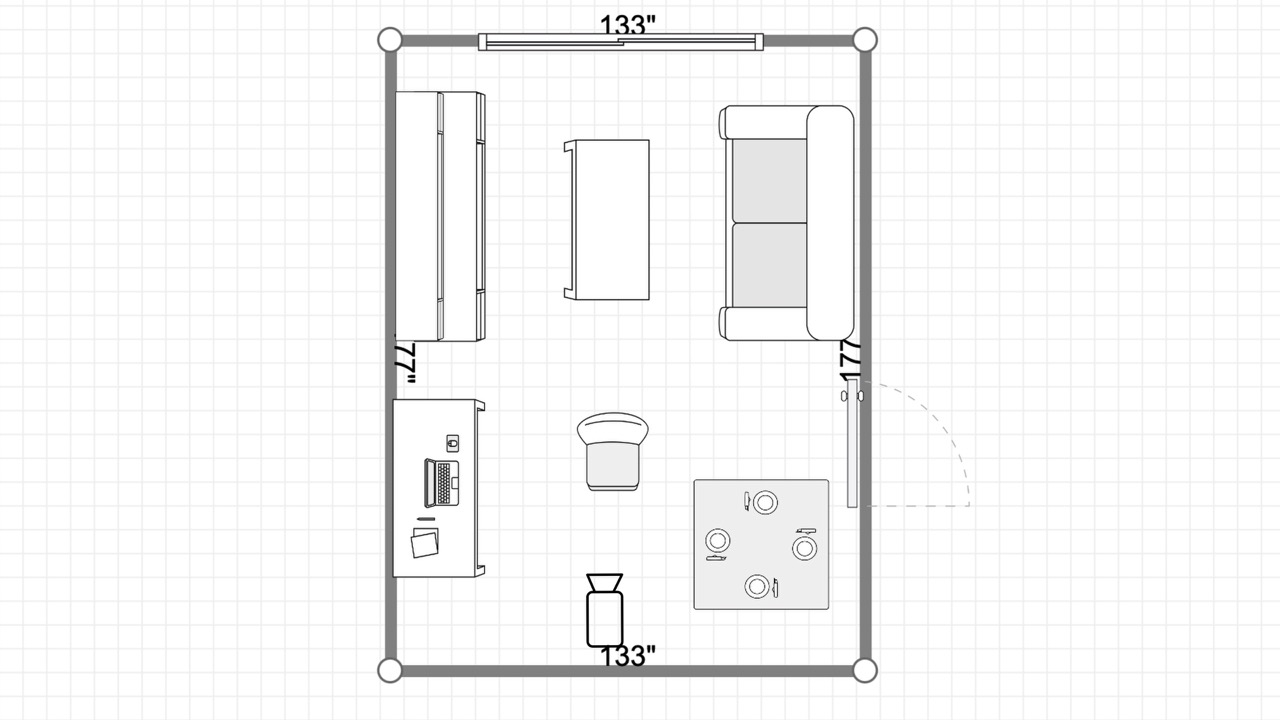
If you compare the depth levels of these shots you can see that in the first version the depth levels are less symmetric as the table and the laptop is creating a very subtle foreground. The deepest point of the image is slightly to the left, but because of the mirror we also have a very deep point right after the foreground. This depth distribution creates a more exciting and visually appealing look.
In the second version the deepest point is pretty much in the middle with the glass doors and the sides are fairly symmetric and the depth is created more gradually on both sides.
So it’s a good idea to play around in your space to find the best angle for your shot, because the one you have right now might not be the best one. It could very well be that you only need to move your camera a bit for a better composition.
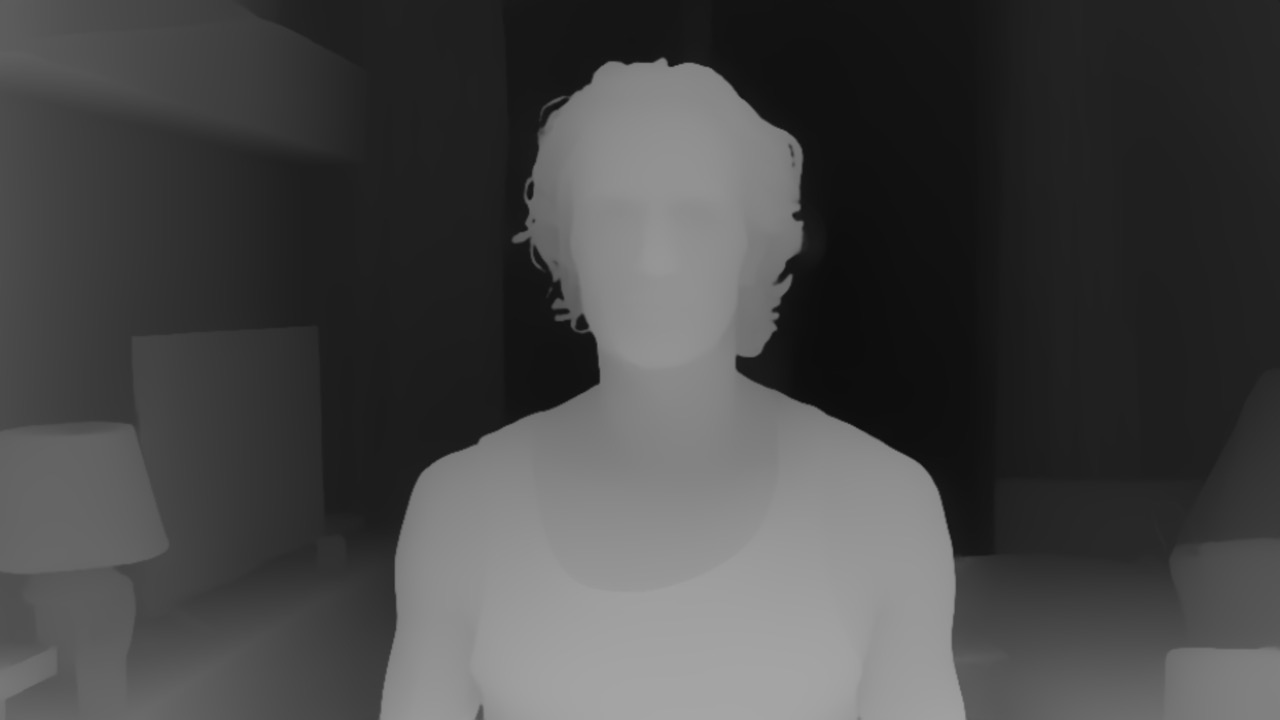
#5 Use AI to Extend or Enhance Your Background
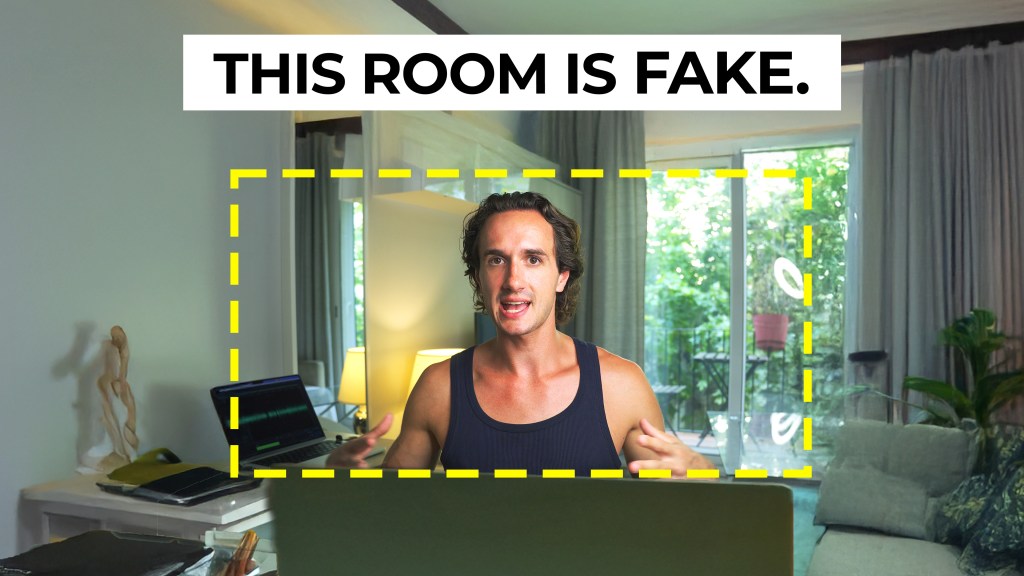
Having a dedicated studio to film in is a luxury. Even having a dedicated spot in your living space is often a challenge. However, perhaps what’s left is boring – like a plain wall, or part of the available background is just not visually appealing. Well, the good news is that you can use AI to extend or enhance your background without needing a green screen or rotoscoping. This technique could allow you to Accept jobs even if you physically couldn’t shoot in the required location. I will write about this and give you a more thorough tutorial in a dedicated article but I’ll go into it briefly now as well.
The idea is the same as any visual effects: having something real and changing the rest. Except, that we can use AI to generate the “unreal” parts. Basically, what you have to do is film your video in the space that’s available for your and then change your surroundings by generating an overlay image with AI.
Here’s a quick step-by-step tutorial on how to extend your background with AI:
#1 Film your video.
Make sure your background isn’t super messy and that it’s somewhat extendable – you don’t have to cut anything in half (like a picture on the wall etc.)
#2 Keep your movements minimal while filming. Imagine you’re in a smaller frame than what you’re actually recording.
#3 Keep the lighting constant.
Don’t rely on natural light because a cloud can pass and change the brightness. Any variation will break the illusion – or give you a lot of extra work in color grading.
#4 Use manual focus and avoid moving in and out of focus. (Or go with a bigger depth of field)
#5 Extract a still frame from your video.
Pro tip: Color grade before moving on.
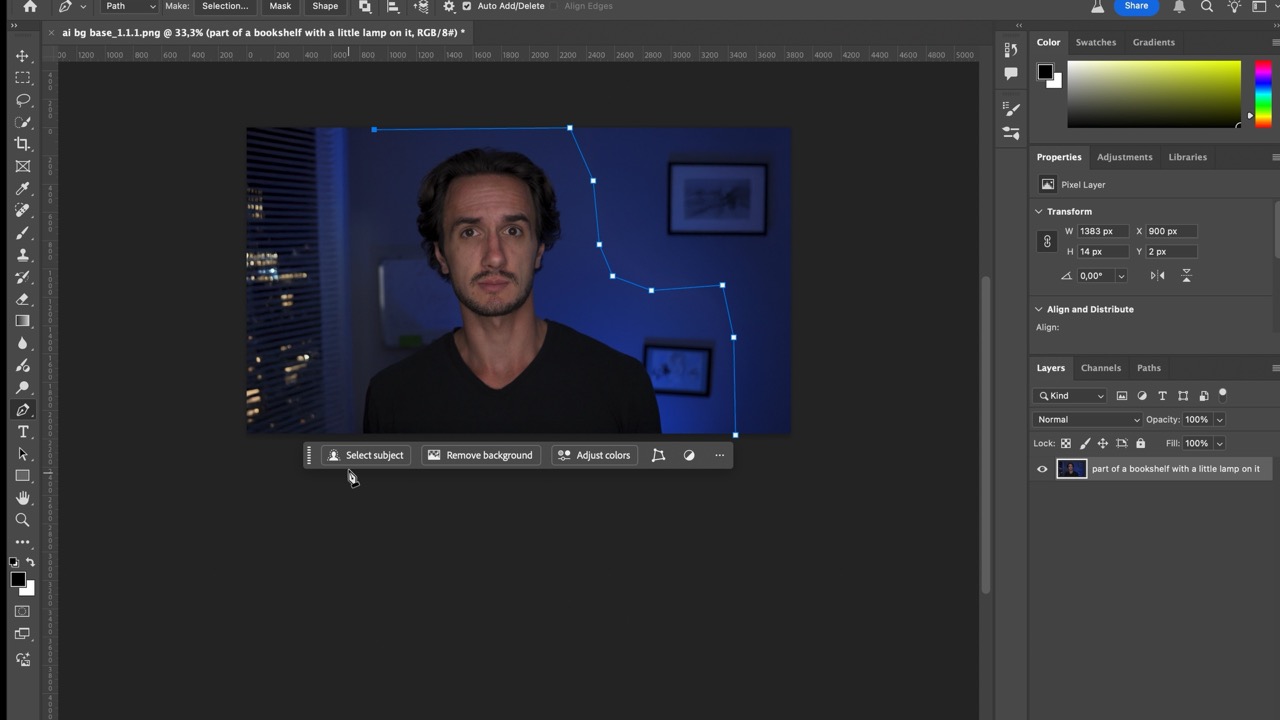
#6 Open the still frame in Photoshop.
Crop around the area you don’t move out of. Don’t cut out anything important in the background—like that picture frame in my case.
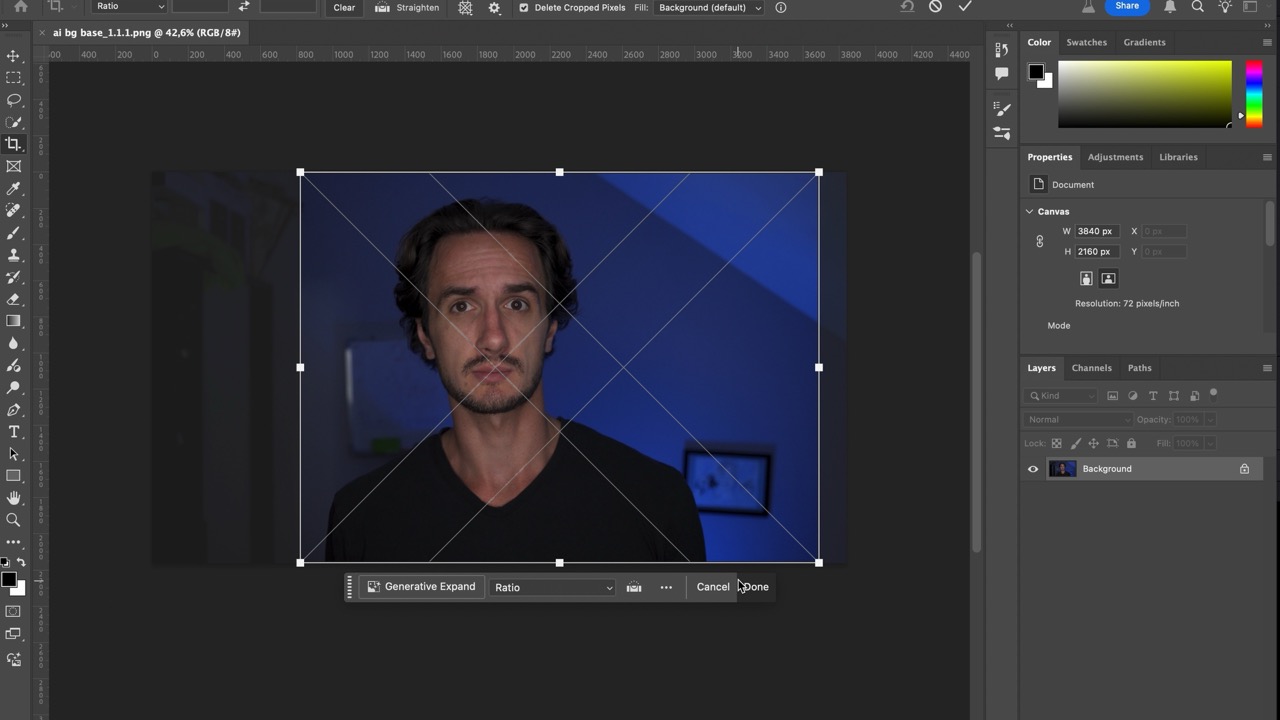
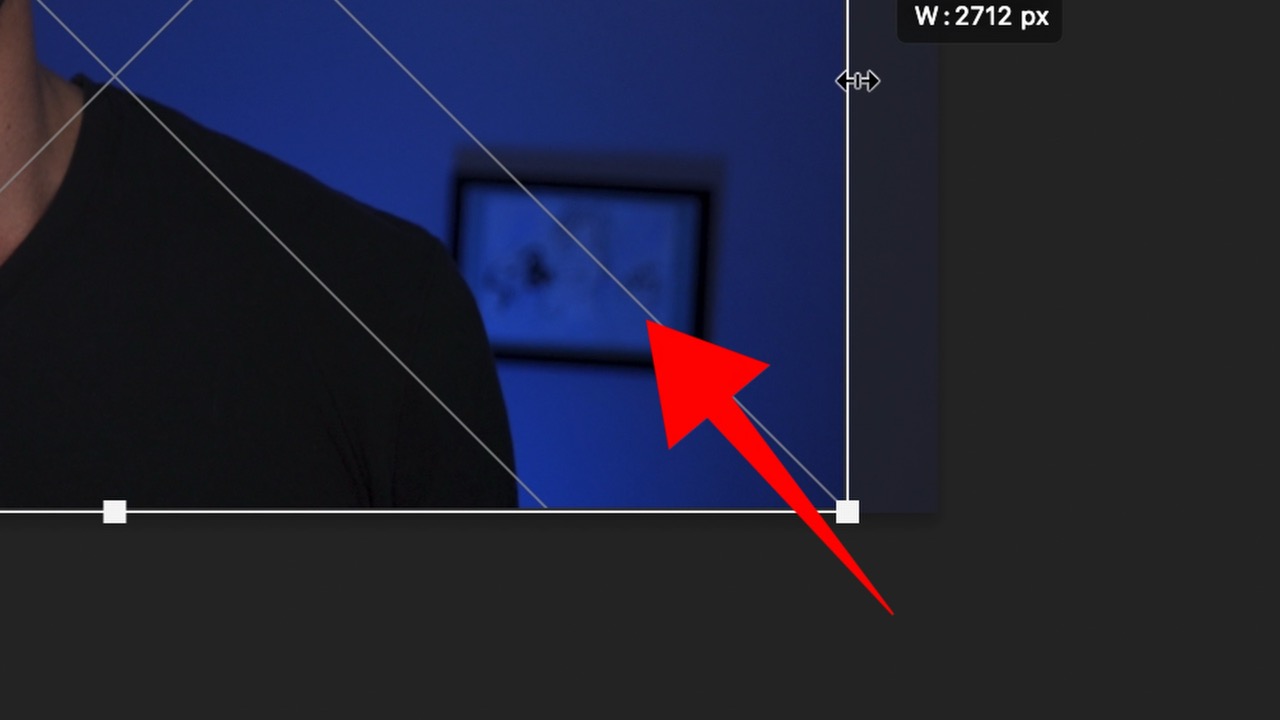
#7 With the crop tool, use a 16:9 aspect ratio and extend the background using the Generative AI feature.
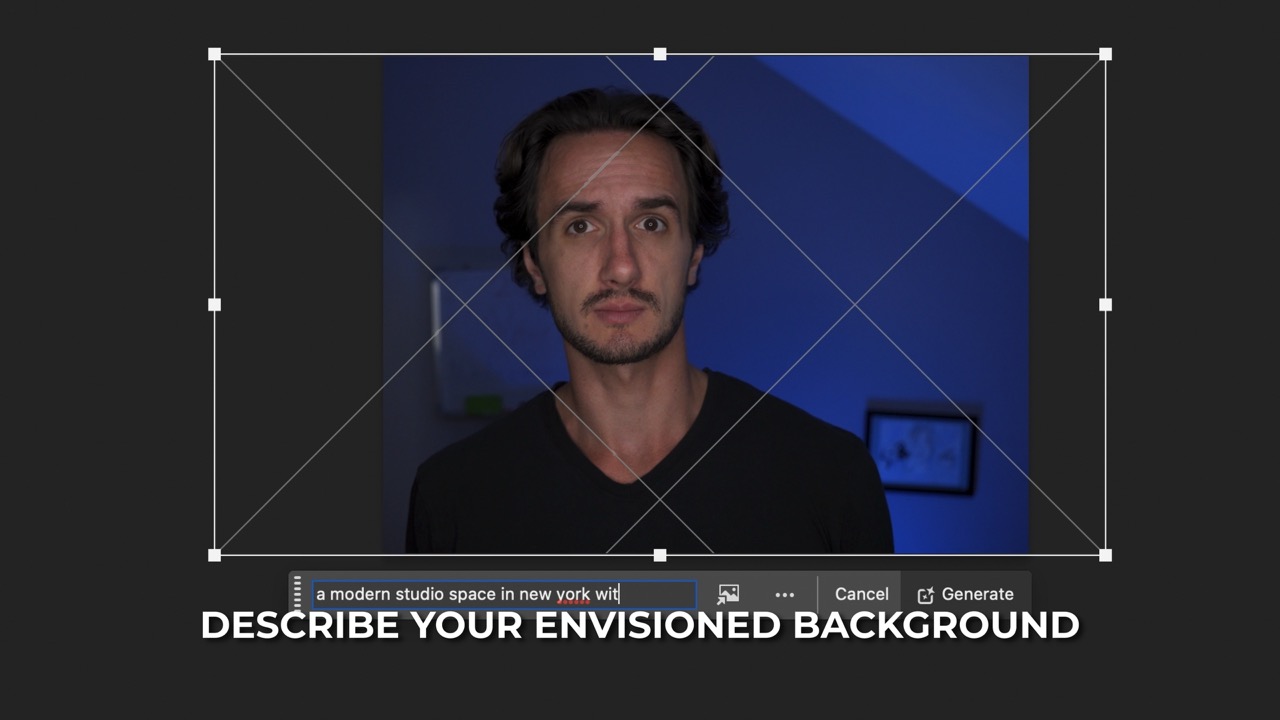
Write a prompt describing what you want the background to look like.
Pick the best option it generates.
#8 Cut around yourself in the original frame.
Make sure your mask has some feathering, like I’m doing here.

#9 Export it as a PNG with a transparent background and overlay it on your original video in your editing software.
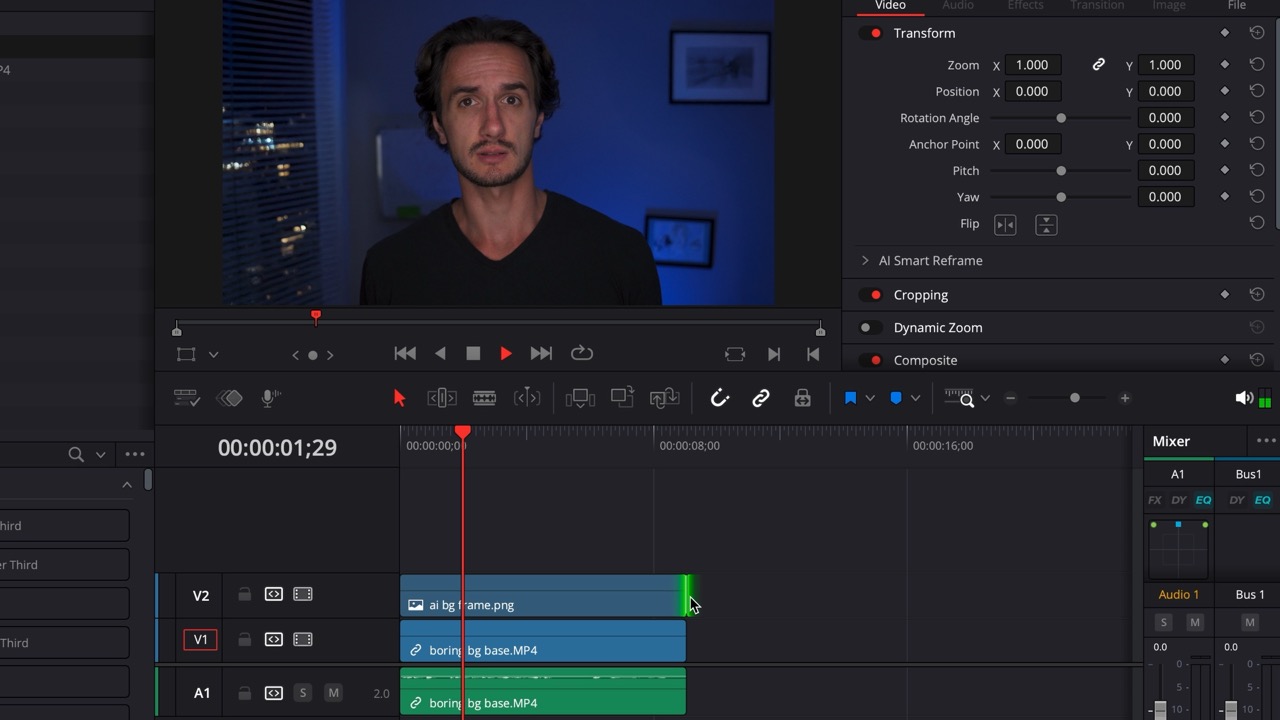
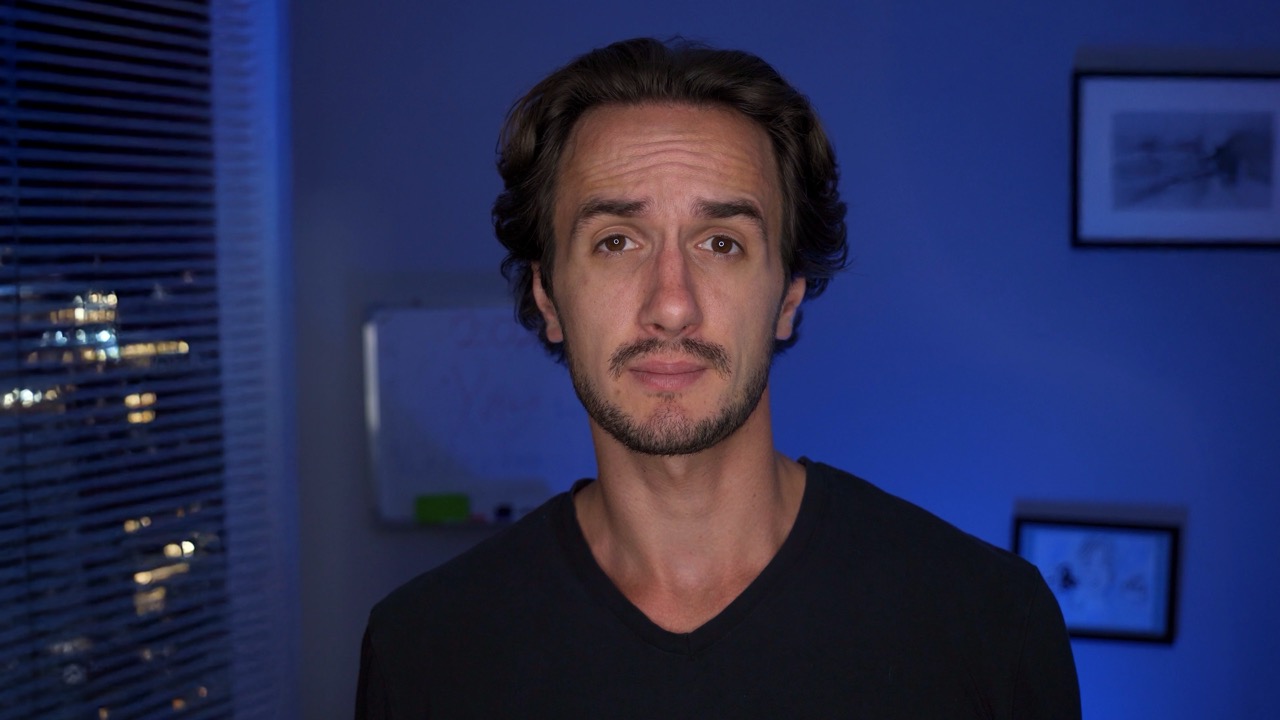
And basically, that’s how you change your background to an AI-generated one.
In my case, I went from a messy bedroom to a skyscraper studio room.
Final Thoughts
Remember, these hacks are for you to use regardless of what your current space is like. That’s why all demonstration materials were filmed in completely average rooms. I’m using these all the time and they saved my own work many occasions so I hope they will help you too!


You must be logged in to post a comment.