This article may contain affiliate links.
Freelance video presenting and UGC video creating are easy ways to earn some extra cash (or even make a full living). You’ll find other articles on the site that go deeper into the explanation of these jobs and how you find them and even get them, but in this article I wanted to go through the real life process of completing a gig to show you how long it takes and how much you can earn. (In this example I did everything before leaving for class and the hourly rate converted into a ridiculous amount!)
In the short vlog video on the channel I filmed and timed the process so you may watch that as well!
The gig
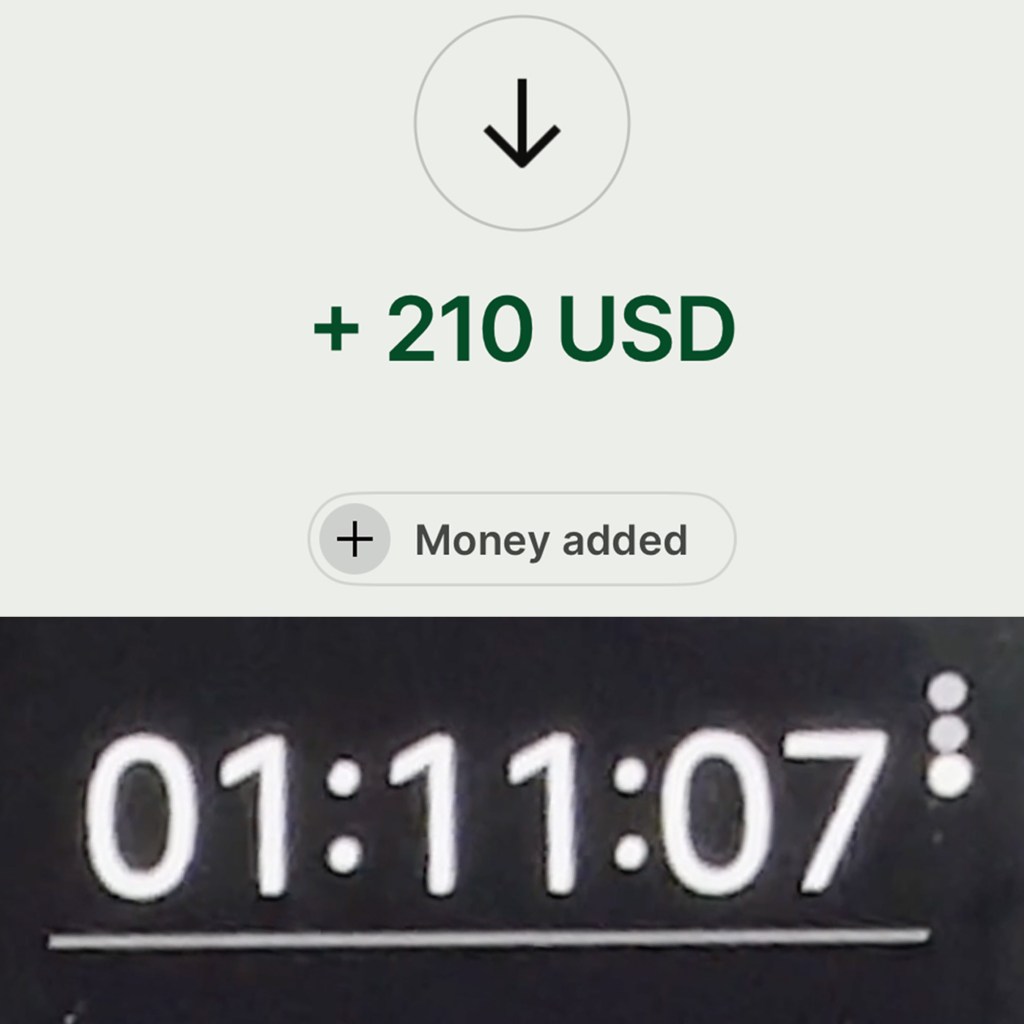
This particular job was a presenting Video Sales Letter (VSL) materials for a company’s website for $210. My job was only to present a script and send the raw footage. No editing. I had to film about 5 minutes worth of text in a semi-professional looking environment.
I like VSL jobs, because due to the length the pay is higher and when no editing is needed they can be done very quickly. Naturally, depending how experienced you are the amount of time you spend on a job might vary and it might also be affected by the level of “production” required – but in those cases the pay is also much higher.
For reference, I was in a conversation about this course material where I would have had to file 10 minute long videos and the pay was very high, but so were the production quality requirements which I did not have the time to come up with next to my classes, so sadly I had to turn that opportunity down.
But for this gig I had everything given so I knew I could do it.
Preparation
I booked the job in the evening, and originally was gonna do it that night but I got the script hours later only so I postponed it to next morning. In most cases, when I know I’d film something in the morning – which I usually prefer to do so because both my face, brain and my voice (after a warm up) are more fresh – I set up the night before so I save some time in the morning. Since I have classes from 9 until late afternoon or with rehearsals sometimes until 8 or 9 in the evening, time is of the essence for me when it comes to work.
In the case of this job it was also true as I filmed it right before leaving for my 9AM class, but since I wanted to film and time the process as a whole, I left setting up also for the morning.
The only thing I did do in the evening is reading through the script to become a little familiar with it – this helps with making the filming process faster.
So in the morning the first thing I did was not actually setting up the studio space but warming up my voice in the shower – which I did not film so it’s not included in the video either. It’s also a step that’s easy to forget but is very important. Warming up your voice in the shower by the way is very nice because the humidity comforts your voice, and you’re also by yourself so it’s more private to do all sorts of sounds and faces. I might make a video and article about this in the future but in the mean time you can read about a quick vocal warm up in this article.
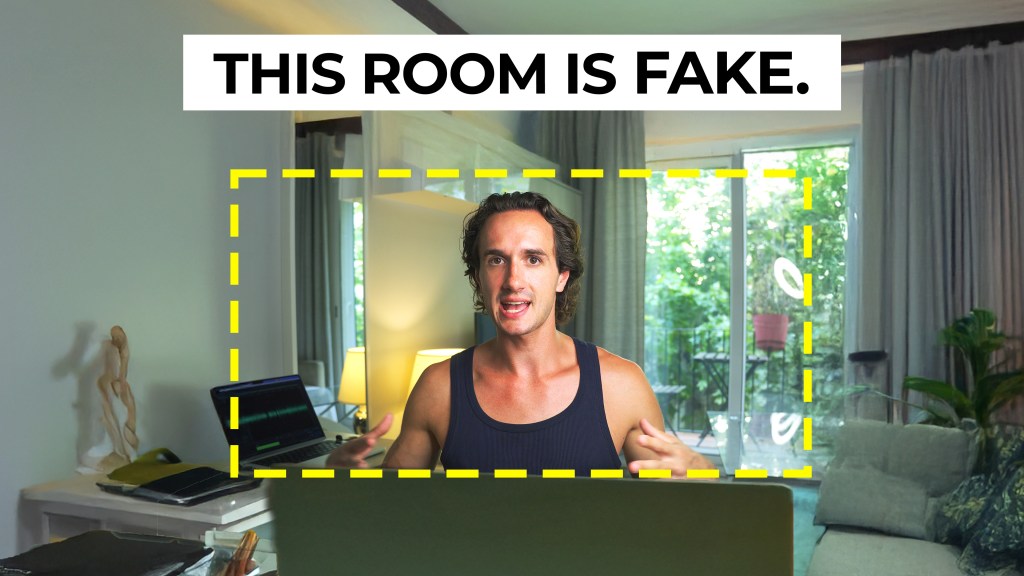
The next thing was setting up the space. I used a setup that I worked with before multiple times so I didn’t have to experiment with lights and camera angles.
I used my favorite practical light equipment, this RGB LED Blade that I could change into any colors. If the brand has a specific color scheme I try to match it so that was all the customization this time as well. It took about 12 minutes including test shots. I always take test shots even if I see myself in the flip-out screen of my Sony ZV-E10 to be sure that everything looks nice.
Then, I changed into the required outfit which was just a plain black T-shirt and I styled my hair to a slicked back style – that part took almost as long as setting up because I had to use a lot of gel and some hair elastics as well.
When it comes to styling my hair for a video it never works out as opposed to days when I literally don’t pay any special care to it and it would work for a Vogue magazine cover.
As part of the preparation I inserted the script into the teleprompter application – I use a Neewer teleprompter and Neewer’s teleprompter app as well.
Filming
The speed of the filming process will depend on the complexity and length of the script and how much practice I had done. When I have time my practice is usually the first full take. It’s a filmed rehearsal essentially. Most cases the whole thing is scratched afterwards but there are times when some parts turn out best in the first take when the way of saying things isn’t locked in at all and I read and act with more intuition and freedom. (This practice for me comes from filmmaking where I always like to do a “filmed rehearsal” as a director which is in a way a contradiction but it works.
I always do several takes and I do each take slightly differently so that the client can choose according to their taste. In most cases, unless it’s requested otherwise you won’t have to film the whole script without cuts. However it’s important that you record bigger chunks without stopping. I usually go paragraph by paragraph or if the script doesn’t really have paragraphs I focus on thoughts and themes instead.
Unless the script is very easy I calculate double the script length per take as the recording time. So to record one full take of a 5 minute long script I’d take about 10 minutes. Then the actual time is sometimes shorter and sometimes longer. In this case it was longer.
File transfer
The last step after filming is transferring the files. I record the audio separately from the video so my package usually stands of a raw video file and an audio file.
When the recording is a little all over the place – because it happens that before actually starting there’s a lot of silent time as well as before stopping the recording. Or during filming I need to stop for any reason but I don’t stop the camera. In these cases I do a simple precut with the audio synced so then I only send that single file. However if you do any pre or rough cut editing to the footage be sure to export it in the same exact format so the client still gets the raw material.
I use MyAirBridge to send files because it has a very cheap subscription option that allows me to send single files up to 50GB which is more than enough for this kind of work – unless you shoot in Apple ProRes or BRAW or other log formats.
I usually choose the files to expire in 30 days and let the client know about that as well. When requested I sometimes use Google Drive.
How much per hour?
The whole job took 1 hour and 11 minutes to complete which converts into $177.50 per hour. It’s a very high hourly rate even if in the case of this job it doesn’t really mean anything since I don’t do it every day in a 9-5 manner. (That would be crazy though haha!)
Nevertheless, it does show that it’s not impossible to make a month worth of groceries (where I live and keeping a budget) in barely more than an hour. So if filming yourself, acting and presenting is something you’re interested in I’d recommend you getting into this line of work. I have some articles and videos about it so feel free to look around on the website and on my YouTube channel as well. That said, like everything this might take some time to take off, but after that it’s a really comfortable side hustle.