A camera today produces a pretty good image straight out of the box even when it’s set to automatic. But being in control of the main settings gives you more control over the image you capture which can be very important for making creative decisions.
In this article I aim to give you a list of settings you need to be aware of and learn so that you can shoot videos that look professional.
While the examples here are demonstrated on a Sony camera, the core principles apply to other brands too—like Canon, Fujifilm, Nikon, and others.
1. Video Format & Frame Rate
Before anything else, set your video format and frames per second (FPS).
- Resolution: If your camera supports 4K, use it. It’s the new standard across most platforms, and even if you’re delivering in HD, 4K footage gives you flexibility for cropping or reframing.
- File Type: Most cameras will shoot in MP4. Higher-end models may offer raw formats (Apple ProRes, Blackmagic RAW), but unless you’re color grading professionally, MP4 at a high bitrate is often sufficient. There can be different picture profile settings for MP4 files such as S-LOG that will still leave you with more room for color grading while still shooting in MP4.
- Frame Rate:
- 24 FPS: For a cinematic look.
- 30 FPS: For smoother motion, ideal for YouTube talking-head videos. This is what I would recommend for social media videos and even for UGC, video presenting work
- 60 FPS: For slow motion or very smooth movement.
Depending on your region, you may see NTSC (24, 30, 60 FPS) or PAL (25, 50 FPS) settings.
Note: that if you’re doing professional work, it’s worth asking what are the FPS requirements in case they don’t mention it.
Pro Tip: Always select the highest bitrate available in your settings for better image quality. Some cameras crop the image slightly at higher frame rates or resolutions, so keep that in mind. For instance on my camera I use it at 4K/30FPS/100M
2. Shutter Speed
This is a big one for achieving natural-looking motion.
The rule of thumb:
Shutter speed = 2x your frame rate.
- Shooting at 24 FPS → set shutter speed to 1/50 (1/48)
- Shooting at 30 FPS → 1/60
- Shooting at 60 FPS → 1/120
This mimics how our eyes perceive motion. Set it once and leave it. Using a different shutter speed will mess with your motion blur making motion unrealistic.
On some cameras like Blackmagic, you’ll use shutter angle. In that case, set it to 180° to get the same effect.
3. Aperture (f-stop)
Aperture controls light intake and depth of field.
- Lower f-numbers (e.g. f/1.8, f/2.8) → more light + blurrier background.
- Higher f-numbers (e.g. f/5.6, f/8) → less light + more background in focus.
If you want that cinematic, creamy background blur—use a low f-stop. This is perfect for talking-head videos as well. However, don’t use and overly low F-stop because depending on the value you also can get blurry parts, plus the your highlights will be too pronounced.
Also, beware of overexposure in bright environments. When you’re shooting outdoors you don’t even have to go with a wide-open aperture for your footage to get blown out. It’s the same when shooting indoors but with a window in the back.
Solution? Use an ND filter (Neutral Density filter). It’s like sunglasses for your lens, letting you keep your aperture low without overexposing. Note, that if you do that, you might need to re-introduce light on your subject – for example when your indoors your back against a window.
Indoor tip: Stick between f/1.8 and f/2.8. Use lighting to control exposure, rather than closing down the aperture too much.
4. ISO
ISO determines your camera’s sensitivity to light. The higher it goes, the brighter the image—but also the more noise you’ll get.
- Every camera has a “native ISO” (look it up for your model). This is where the image is cleanest.
- If you’re just starting out, auto ISO is fine, but for consistent lighting, manual is better.
- Try to keep ISO as low as possible—ideally between 100–500.
5. A note on lighting
Remember, that while in photography you have aperture, shutter speed and ISO to control the brightness of your image. Obviously the various combination of these will give different results but when it comes to filming, your shutter speed needs to stay fixed for realistic motion blur, therefore you’re only left with aperture and ISO.
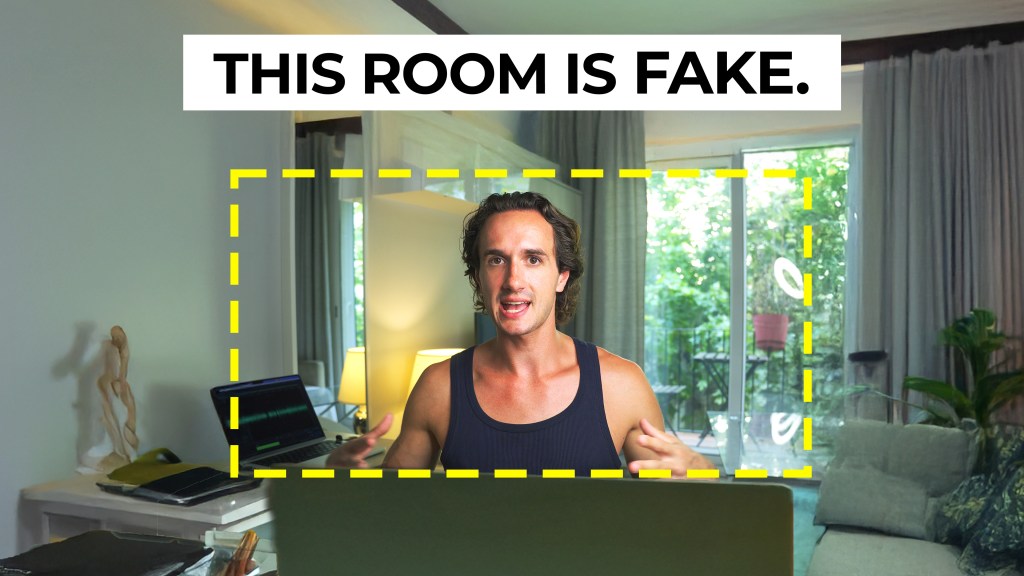
Now if also you’re aperture is fixed because you want a shallow depth of field and your ISO as well because you want to avoid noise – all you’re left with is how you control the light in your environment. And that’s filmmaking and video making in a nutshell and it’s what you have to adapt to also.
This is why equipment that will help you control lighting is an important investment if you’re serious about filming yourself and content creation
6. Autofocus Settings
If you’re filming yourself, autofocus is your best friend—if your camera does it well. If you’re unsure about your camera’s autofocus capabilities do a test. Strong autofocus should keep you sharp at all times while a weak will lose you sometimes switching between background objects and your face.
- Face/Eye Detection: Enable this if available. Sony excels at this, locking focus on your eyes even if you move.
- AF Mode: Use AF-C (Continuous autofocus) so the camera keeps adjusting focus as you move.
- Focus Area: Choose “Wide” to let the camera track across the whole frame. Although when you’re using face/eye detection this part is less important as the camera will prioritize your face and eyes.
If your can’t trust your camera’s autofocus stick to manual focus. When using manual focus, lock your focus on yourself either using a wireless control app like Imaging Edge for Sony or use a stand-in object to lock the focus on. Then, limit your movements forwards and backwards.
Autofocus Tweaks (Sony terminology):
- Transition Speed: Controls how quickly focus shifts. Set it mid-range.
- AF Responsiveness: Determines how reactively the camera changes focus. Again, mid-range keeps it smooth.
- Object Showcase Mode: Some cameras have this for product videos—it switches focus to objects quickly when held up. Without this turned off, the object has to cover your face/eyes for the focus to shift.
6. Picture Profiles
This depends on how much editing you plan to do.
- Standard profiles: Great for minimal editing.
- HLG3: This is the profile I use mostly because it’s not a bleached out flat profile but still leaves room to some color grading.
- S-Log2, S-Log3 or other flat profiles: More flexibility in post, but require color grading. Also, on my camera S-Log requires a minimum ISO of 500 which is too much for my liking and it will also make lighting more difficult.
If using a flat profile, turn on auto-assist preview so you don’t shoot blind with a flat, washed-out image.
7. White Balance
- Auto White Balance (AWB) works well in natural or single-light setups.
- If using RGB or mixed lights, manual WB is better:
- Use a Kelvin value or a white/gray card to lock accurate color.
- This avoids your footage changing tint mid-shoot.
- A natural day-light color temperature is between 4500-5500 Kelvin.
- When using a soft box or ring light with adjustable color temperature as your main light source, make sure that you set the same color temperature on the light and on your camera.
8. Audio settings
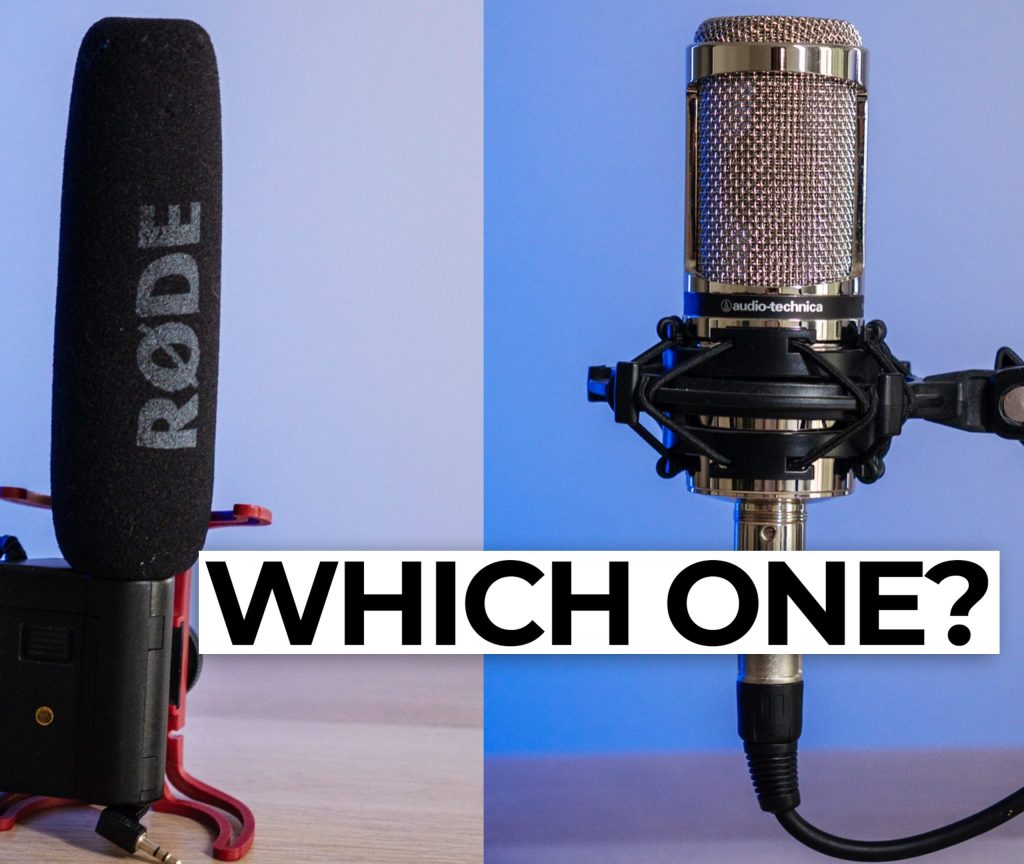
Your camera’s internal mic? Only good for scratch audio.
Use an external microphone whenever possible.
- Monitor your audio levels:
- Ideal peak: around -12 dB
- Never let it peak into red (0 dB) — that causes distortion.
- If you shout or raise your voice, the peak will go higher but should stay under control.
- When possible adjusting the audio level on the microphone first and leaving the camera’s setting in mid-rage will result in better audio quality.
Always test your audio before recording the full take.
Final Tips
- Want a cinematic look? Prioritize shallow depth of field, soft lighting, and natural motion blur.
- If autofocus is unreliable, lock in manual focus and don’t move too much—many creators (myself included) worked like this for years.
- ND filters will come very handy for keeping your aperture low in bright conditions.
Summary
These are my recommended core settings you need to master when filming yourself (or others) with a camera:
- Format & Frame Rate: 4K/30FPS/100M
- Shutter Speed: 1/60 (or double the FPS)
- Aperture: f1.8-2.8
- ISO: At the native value
- Autofocus
- Picture Profile: HLG3
- White Balance: custom setting, between 4500-5500 Kelvin
- Audio: peak at -12 dB
Stick to these principles and your footage will instantly look more professional—even if you’re a one-person crew. As always, experiment, test, and get to know your gear inside out.
Thanks for reading!